


Discover the essence of Amazon Storefront banners and their pivotal role in captivating potential customers. Learn the optimal size – 3000 pixels wide by 600 pixels tall – for seamless integration and stunning visual impact. Uncover expert tips for crafting compelling banners that reflect your brand identity and drive sales
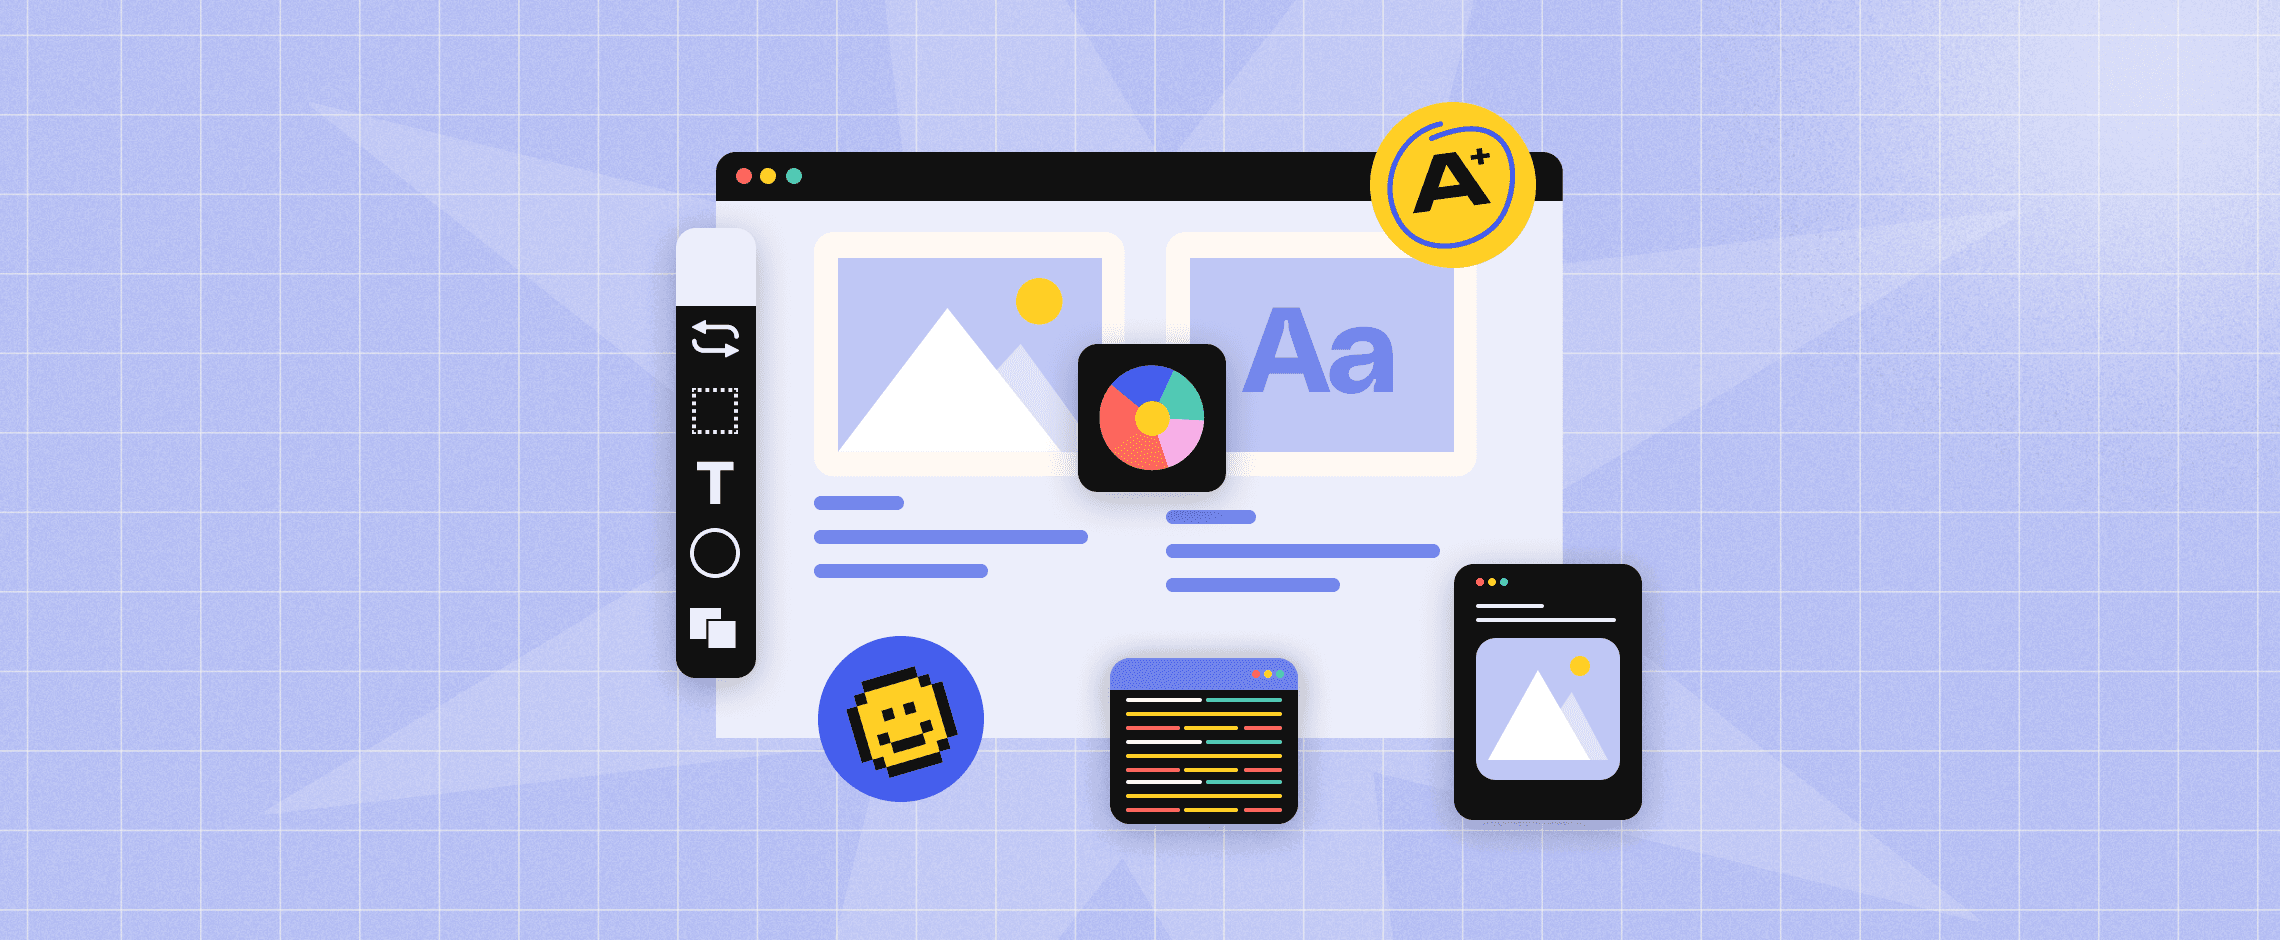
Free Instant Background Remover for all Your Design Needs
Background removal or editing often comes in handy, especially in the content creation process. YouTubers and Instagram influencers create customized thumbnails often with images of them on brightly colored backgrounds. With Glorify’s background remover tool, all you need to do is upload your image and our tool automatically identifies the object, deleting the entire background through auto-clip. You can also drag and drop the images if you find that quicker. For those who are a tad bit more particular, you can also manually highlight the areas you want removed by choosing the scalpel mode. It really is that simple and quick!
How To Use Glorify’s Background Remover: A Step By Step Guide
Log in to your Glorify account or sign up for a new one
Click on “toolbox” that appears right next to the Glorify icon
Upload or drag and drop your image
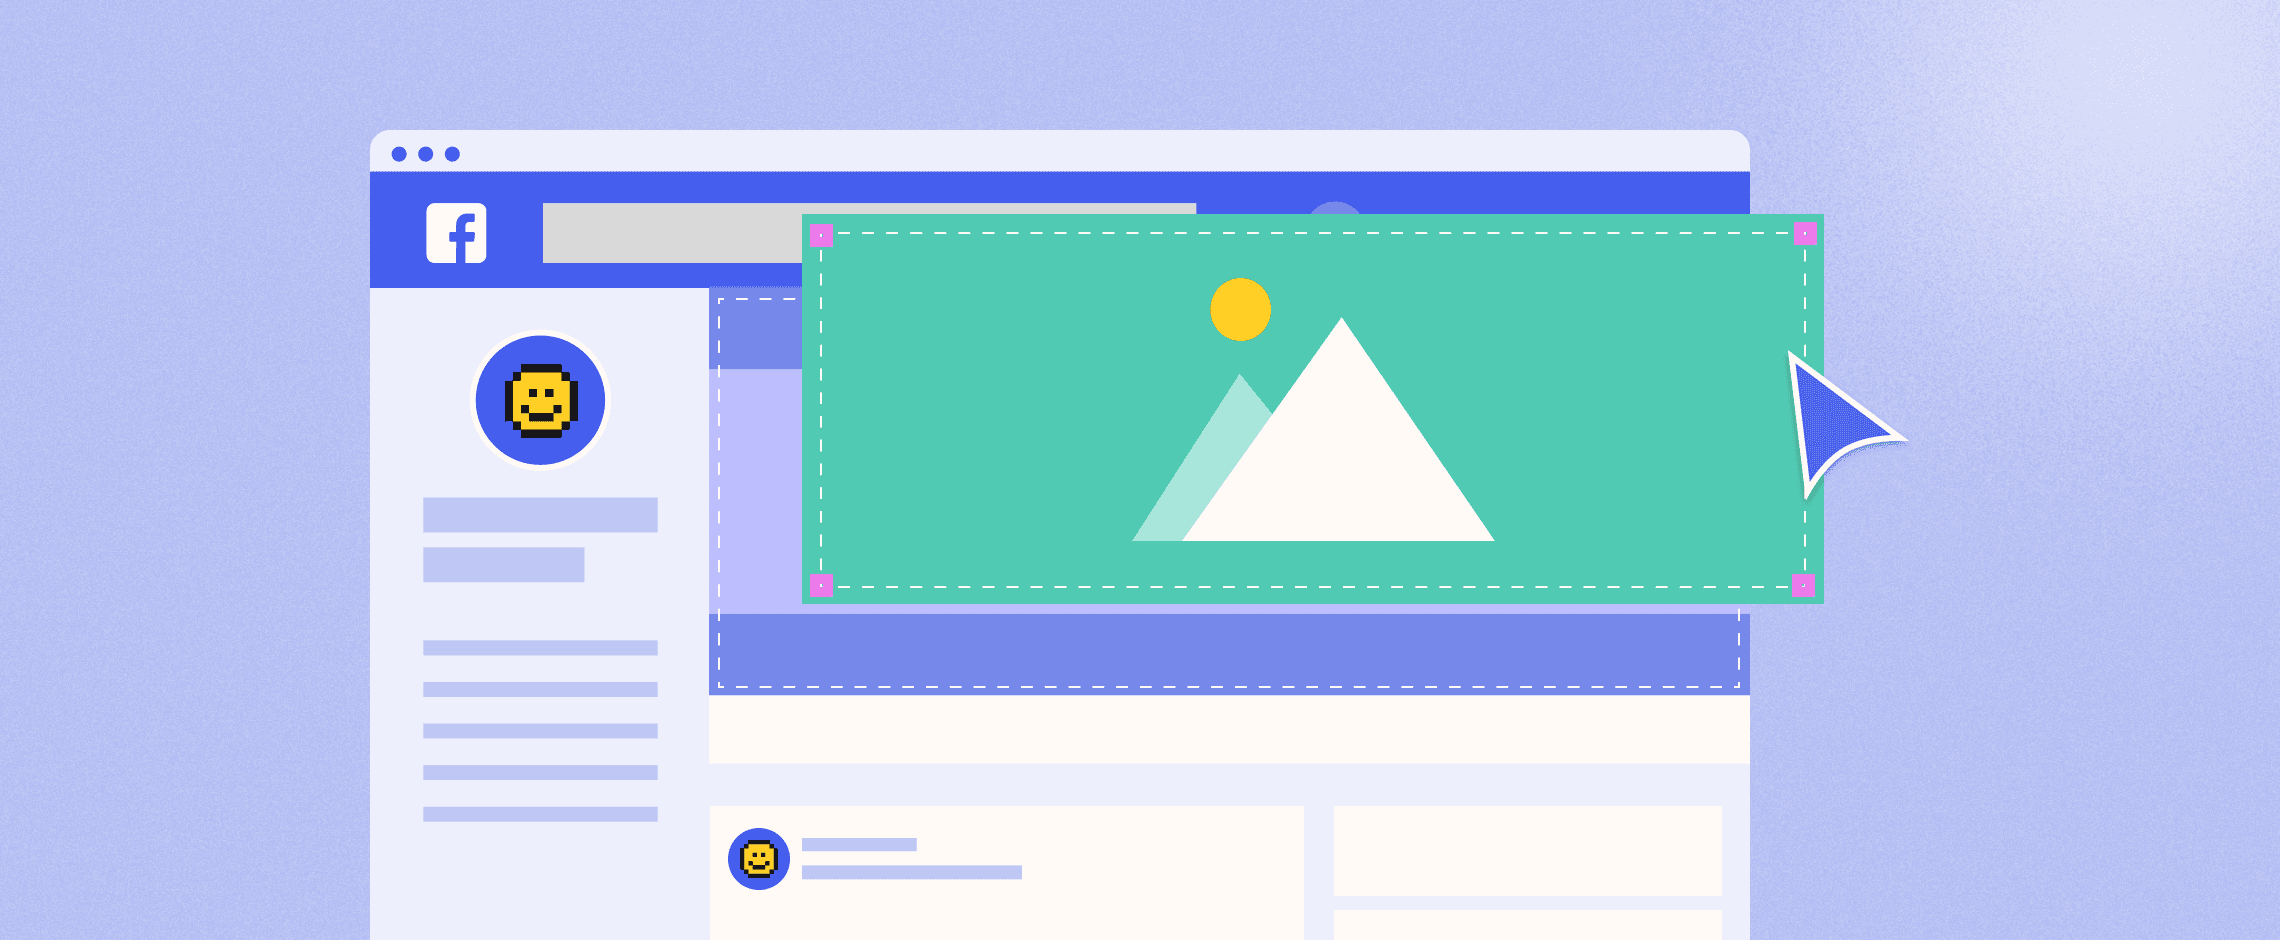
The AI automatically detects and removes the background, leaving you with only the main object
You can also use the “scalpel” on top to manually remove only specific parts of your background
Once satisfied, click “done” and your image will automatically be saved in “image library> my designs” with a transparent background!
Once the original background of your image is removed, you will see the standard white and grey checkered background. You can then add any background to your image. The final product can be downloaded in the PNG format which further preserves the transparency, opening up many possibilities for you.
What Can You Do with an Image After Removing its Background?
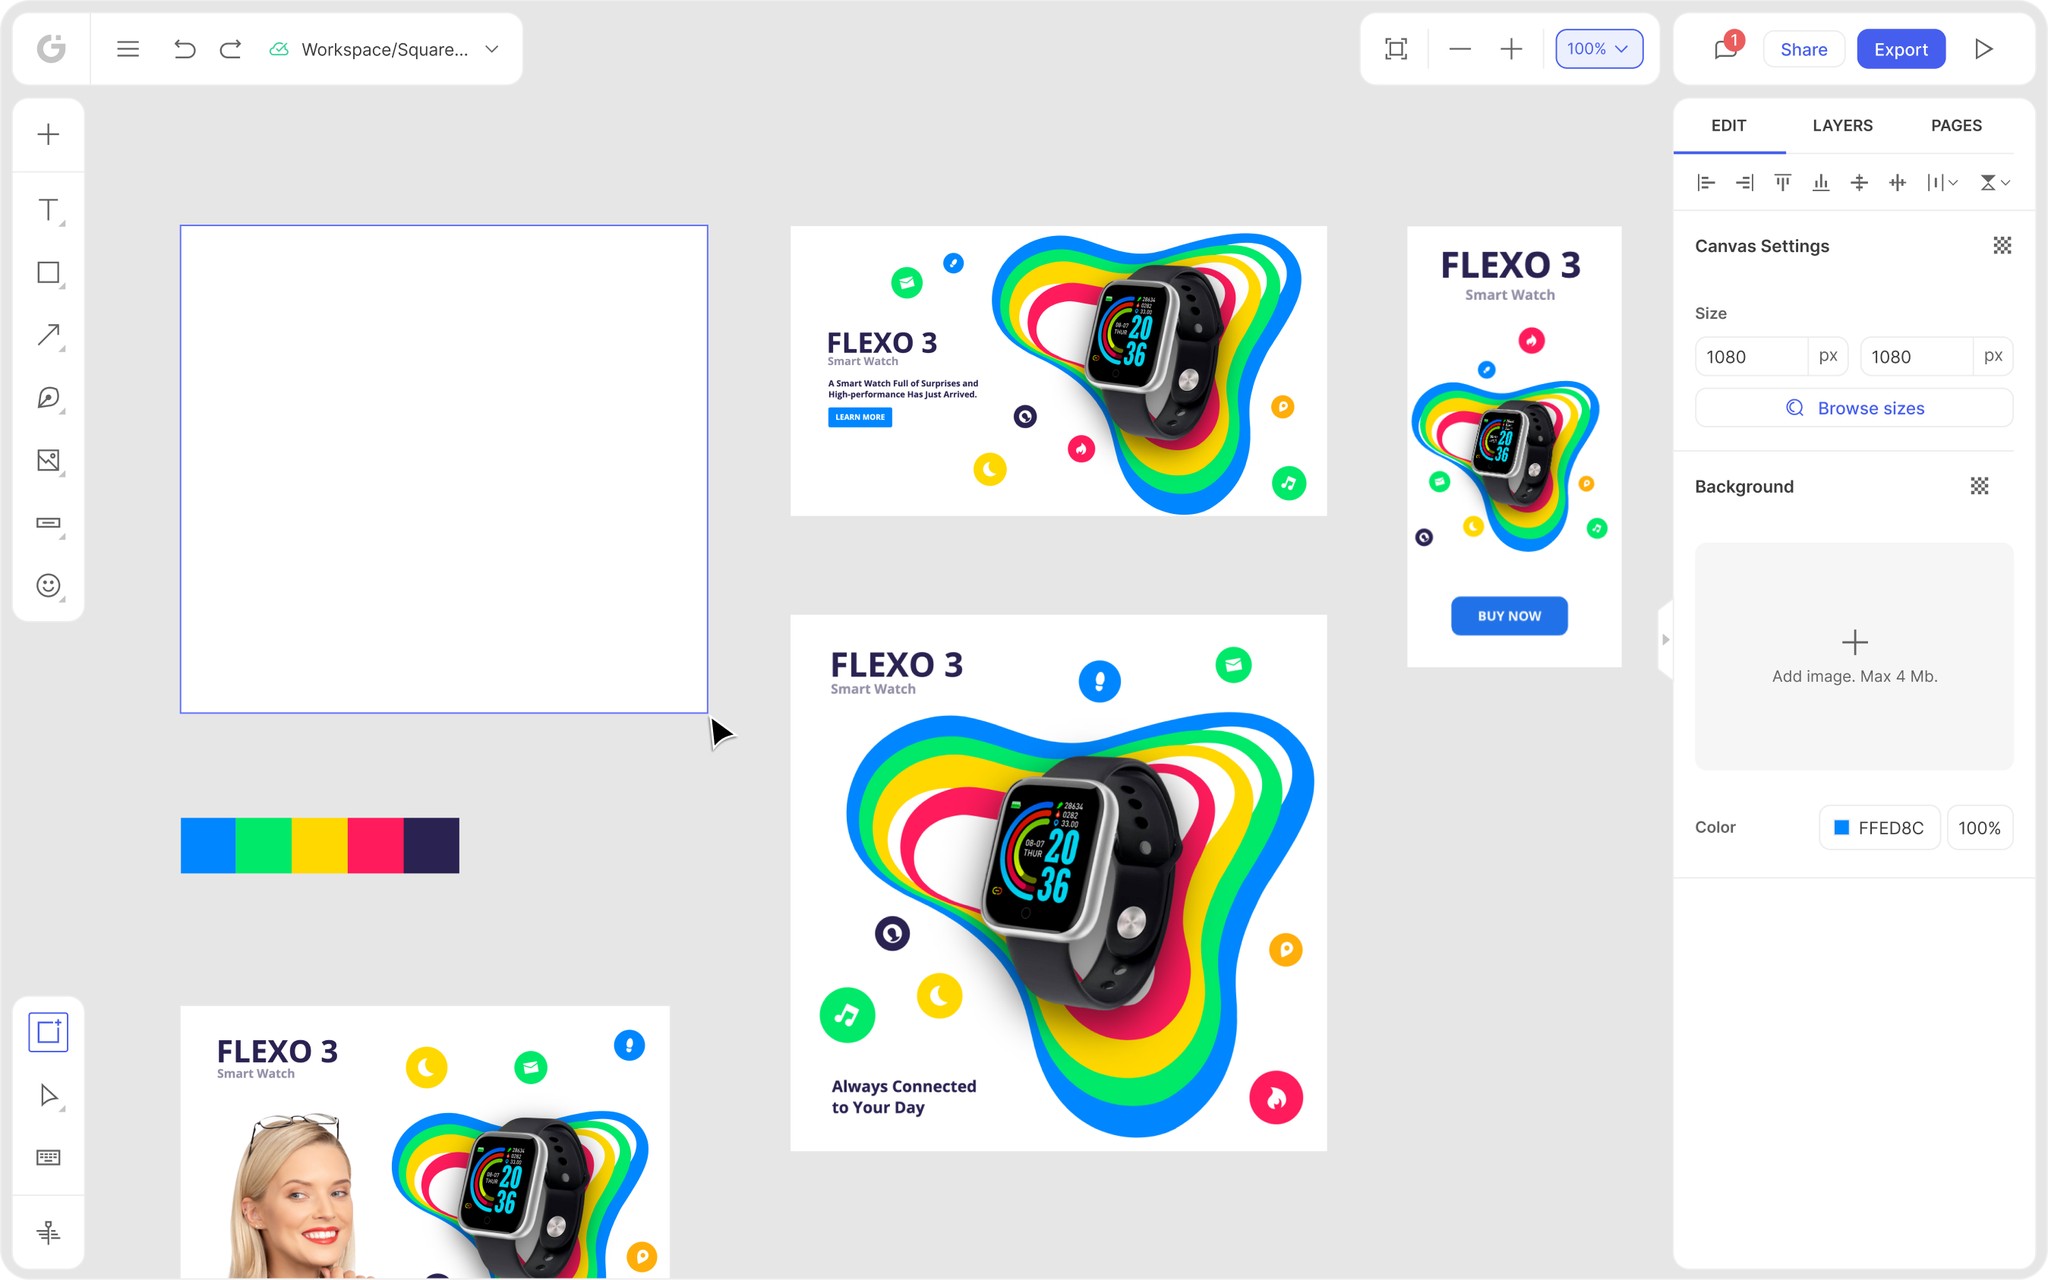
Let’s say, for example, you are creating an Amazon product promo image. Just click on the Amazon product promo image template, and choose “new from scratch” in the template options.
Upload your product image without the background and add one of your own by choosing the “Background” in the left panel. From solid colors to patterned backgrounds Glorify gives you endless options! To spice things up a little more, you can also add text and elements like illustrations, buttons, shapes, icons and so much more. Simply click on “text” or “elements” in the left panel.
Quick Tips: How to Get the Best Results with Glorify’s Background Remover
1. The best images for background removal are those that have a definite object in the foreground. If you are using the tool for your product images, always choose images that have your highlighted product in the spotlight. You can also advise your photographer to keep the product closer to the camera in order to achieve a solid foreground.
2. Use images that have a definite contrast between the foreground and background. Once you have removed the background, always remember that plain backgrounds work better for product images than cluttered backgrounds. This explains why Amazon has a white background image policy for sellers!
FAQs: Glorify Background Eraser Tool
1) Is Glorify’s background remover free?
Signing up for Glorify’s Free Forever plan gives you free access to its background remover tool. However, the number of background removal credits per month is limited. If you prefer a large or unlimited number of credits per month, it’s best if you pick Glorify’s Pro or Business plan.
2) Does removing the background change image quality?
Editing or removing the background using a background remover tool does alter the image pixels slightly, but not to a worrying extent. If your image is already of high quality, editing won’t affect it too much even though it may reduce the accuracy. However, as a general rule, the less editing involved in a picture, the better.
3)Does JPG or PNG format have better quality?
While both formats have positive features according to their use cases, PNG is a better choice when it comes to drawings, text and iconic graphics in small file sizes. JPG, on the other hand, is a glossy compressed file format. If you are using the background remover tool, downloading your background-less images in the PNG format helps preserve the picture quality.


Features
Explore templates
Alternatives


© 2024 Glorify App - All rights reserved