

Discover the essence of Amazon Storefront banners and their pivotal role in captivating potential customers. Learn the optimal size – 3000 pixels wide by 600 pixels tall – for seamless integration and stunning visual impact. Uncover expert tips for crafting compelling banners that reflect your brand identity and drive sales
Posted Nov 9, 2022
•
5 min read

Graphic design, Ecommerce, Marketing

Create beautiful marketing graphics at scale.
How to Create Professional Product Images That Sell
Apart from the obvious plus point of bringing more sales, attractive product images also improve the quality and aesthetics of your website. Ads with high-quality images also tend to convert more and increase traffic to your website.
Here are 5 useful tips on how to get the ideal product images:
5 tips to create professional product images
1. Use the right equipment
No, you don't have to break your bank account to purchase a professional camera. All you need is a device that takes good-quality images and you're good to go. If you own a smartphone, preferably an iPhone, this will definitely do the job.
Smartphone cameras may not look like much but they do come with many different settings, features and adjustments that result in high-quality photos that will work great for your website.
2. Capture the ideal product image
There are many different types of product images. However, not every type will suit your brand and product. Before you start the shooting process, it's recommended to decide what type of images you want to capture. Let's take a look at some of the different types of product images.
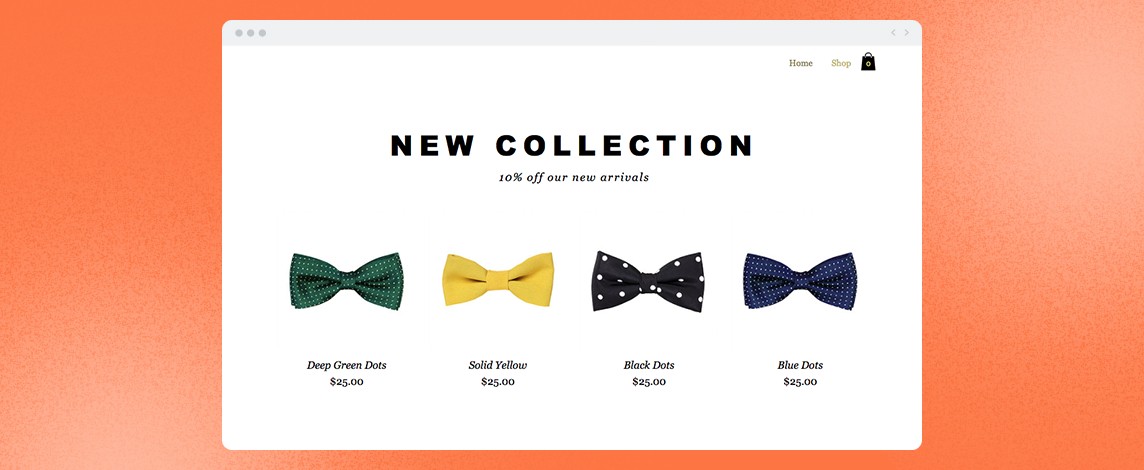
Photos with white backdrops
This is the safest style to capture your images in. Photos that feature a white backdrop can be taken quickly and serve their purpose well. Customers are immediately captivated by the simplicity and elegance of the photos. It also prevents distractions and makes the viewer focus 100% on the product.
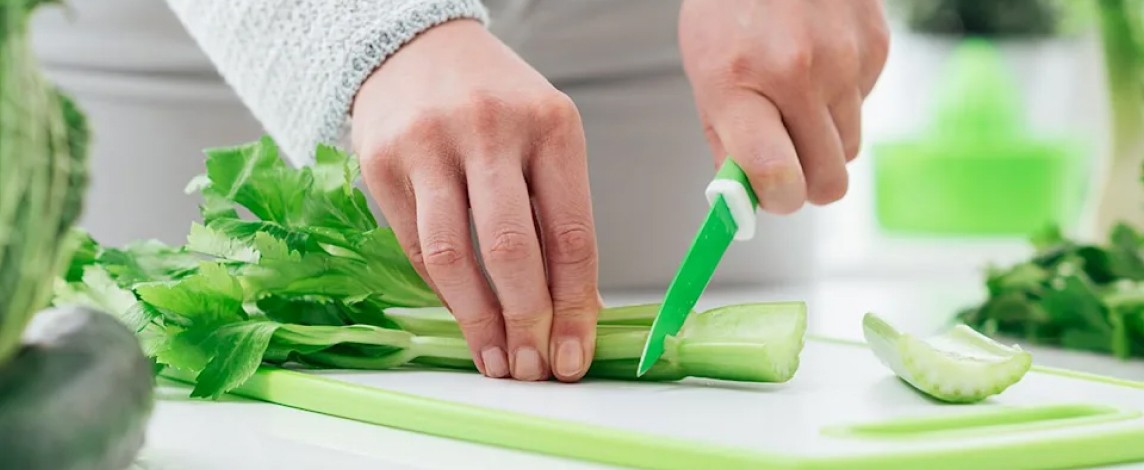
Photos showing ownership
These photos display not only the characteristics of your product but also the ideal lifestyle of the future consumer. This triggers the imagination of the customer and allows them to visualize how your product can make their lives better. For example, you can photograph hiking equipment in the woods or display clothes, shows and jewelry on models.
Beautifully crafted photos
In most effective product images, the product is not actually photographed in the setting seen in the image. A good example of this may be an ad for men's cologne that shows the product sitting elegantly on a rock by the sea. In case you were misled, the photographers didn't actually travel all the way to the beach. They simply used great editing skills to merge separate pictures of the product and the background.
Product stylized photography can be artistic and inventive. However, you do need a certain level of design skills in order to pull it off.

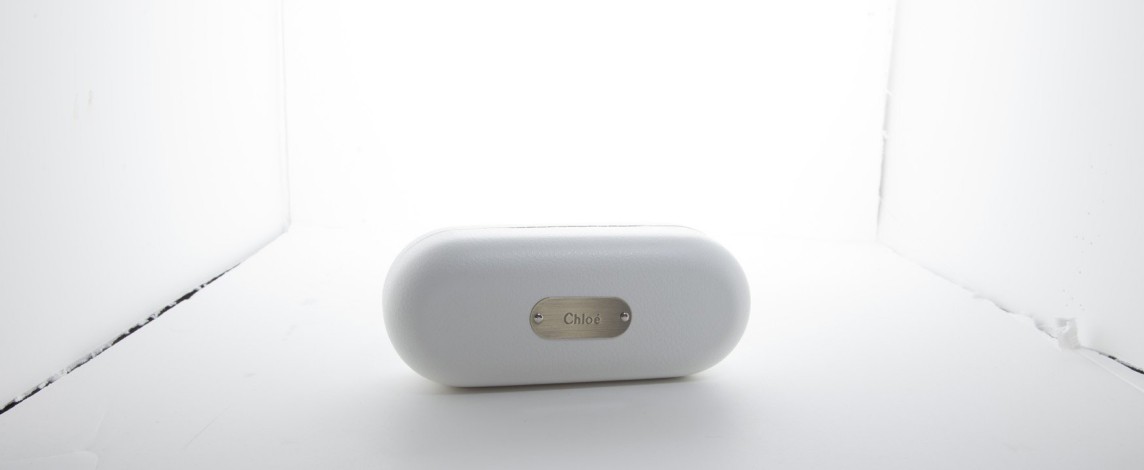
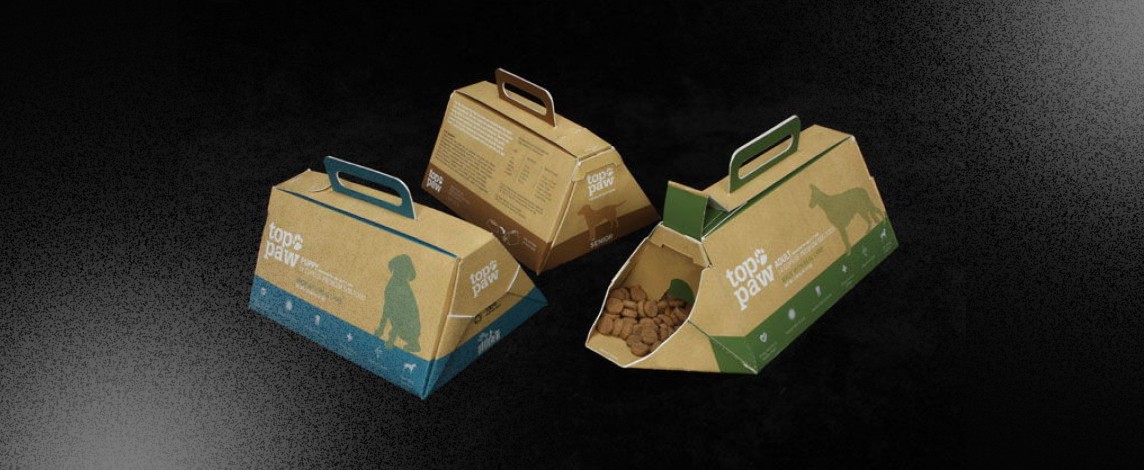
Photos featuring attractive packaging
If the packaging of your product improves its aesthetic appeal, it can be included in your image. You can even come up with an innovative packaging style for the sole purpose of boosting images.
Including the packaging in your images also works great for maintaining transparency with customers. It shows them exactly what to expect when their order is delivered to their doorstep. Keep in mind though that the packaging in the photo MUST be the actual packaging used for your products. You don't want angry comments from customers saying that your product did not meet their expectations.
3. Prepare the setting
This stage is perhaps the most time-consuming one of all. However, it depends on the type of photos you decide to take.
Let's say you choose the white backdrop approach. You can push a table against the wall and tape a pure white sheet of paper above the table. Let the paper flow onto the table in a gentle curve so that no unsightly angles will be visible. A clean white cloth can also be used. Place your product against this white backdrop and then move on to the lighting.
You can either choose to go with natural lighting or use equipment to induce artificial light. Natural light is always a good option if you're on a tight budget and can't afford special equipment.
Before you snap that photo, make sure that the object is well-lit and in sharp focus. Position your object within the frame or the area you see in your lens. Centering it to make sure that your product is away from the photo boundaries prevents the risk of sections being cut out in the resize process.
Experiment with different angles. Multiple photos from various viewpoints give your customers a full 360 degree view of what they are buying. We also suggest close-ups to highlight the details and exquisite craftsmanship of your products.
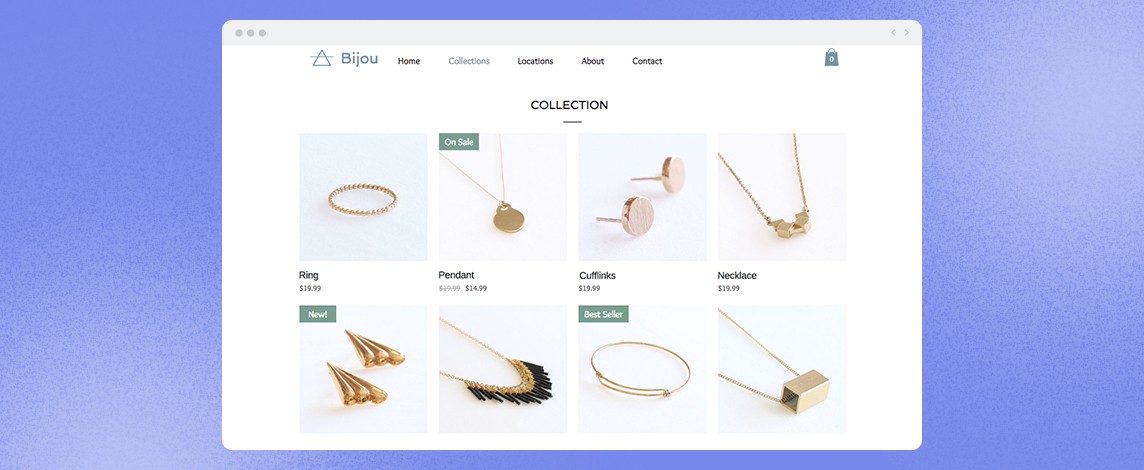
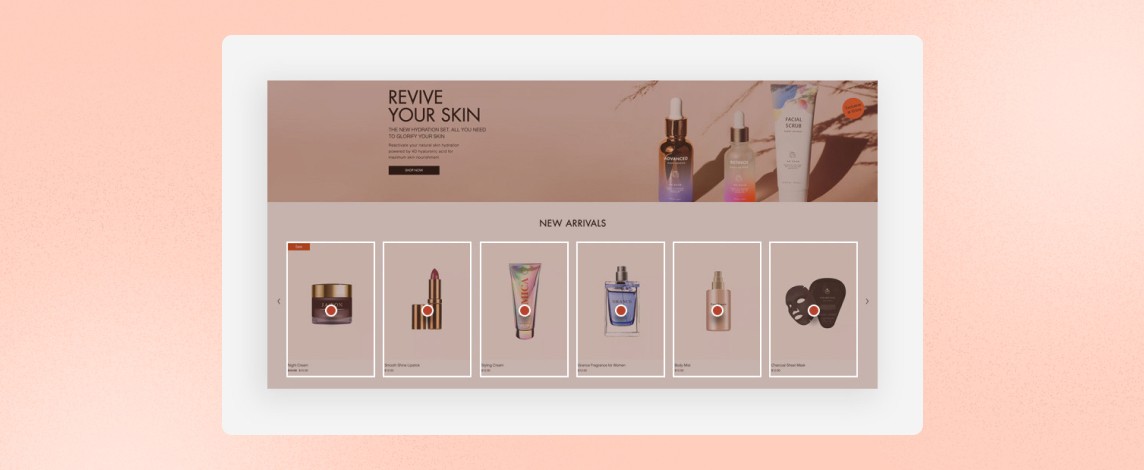
4. Design the perfect layout
You took incredible product photos. Now you need to make sure that your website is equally appealing. In this stage, the layout of each web page is extremely important since a poorly designed one can come across as unprofessional and drive customers away.
Make sure you don't overwhelm customers by cluttering your website with too many items. Spread out the images and keep adequate space to accommodate product descriptions. Upload several different photos for each product. This is where multiple-angle photography comes in handy.
Sync your items and choose the pattern which they will be displayed in. Finally, your page layout and design has to suit the products you are selling.
5. Edit your photos
Your photography skills may be great, but making a few final tweaks before uploading the images is always a good idea. There are countless photo editing apps on the market. However, you need to find one that suits your level of design skill.
For example, Adobe Photoshop is mostly used by professionals for advanced photo edits while Canva is a simple tool used by beginners. If you are looking for an ideal balance between advanced and simple design features, Glorify is your best option.
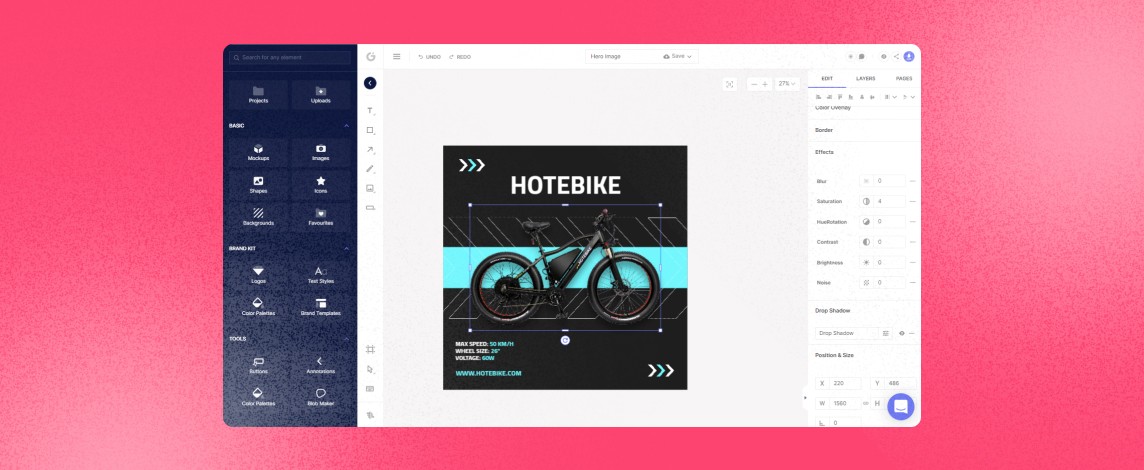
Glorify is an easy-to-use design tool that is ideal for both professionals and beginners. With a combination of both simple and advanced features, it is the ideal tool for anyone looking to create professional visuals in a few simple steps.
You can spice up your photos by adding realistic shadows and reflections, text, captions and more. It's also a good idea to use the annotate tool to point out the main features of your product.
To top it all, Glorify provides an instant background remover tool that gets rid of any unwanted backgrounds. This means that you can photograph your product anywhere, simply cut out the background and add your own. You can even customize the background color to suit your website.
Keep reading to find out how you can create professional product images with Glorify using a few simple steps.

How to create professional product images using Glorify
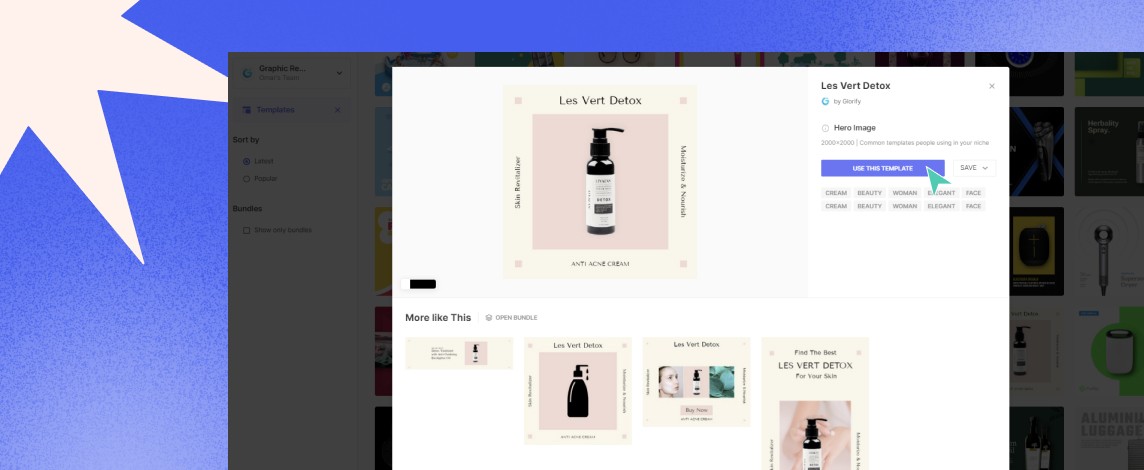
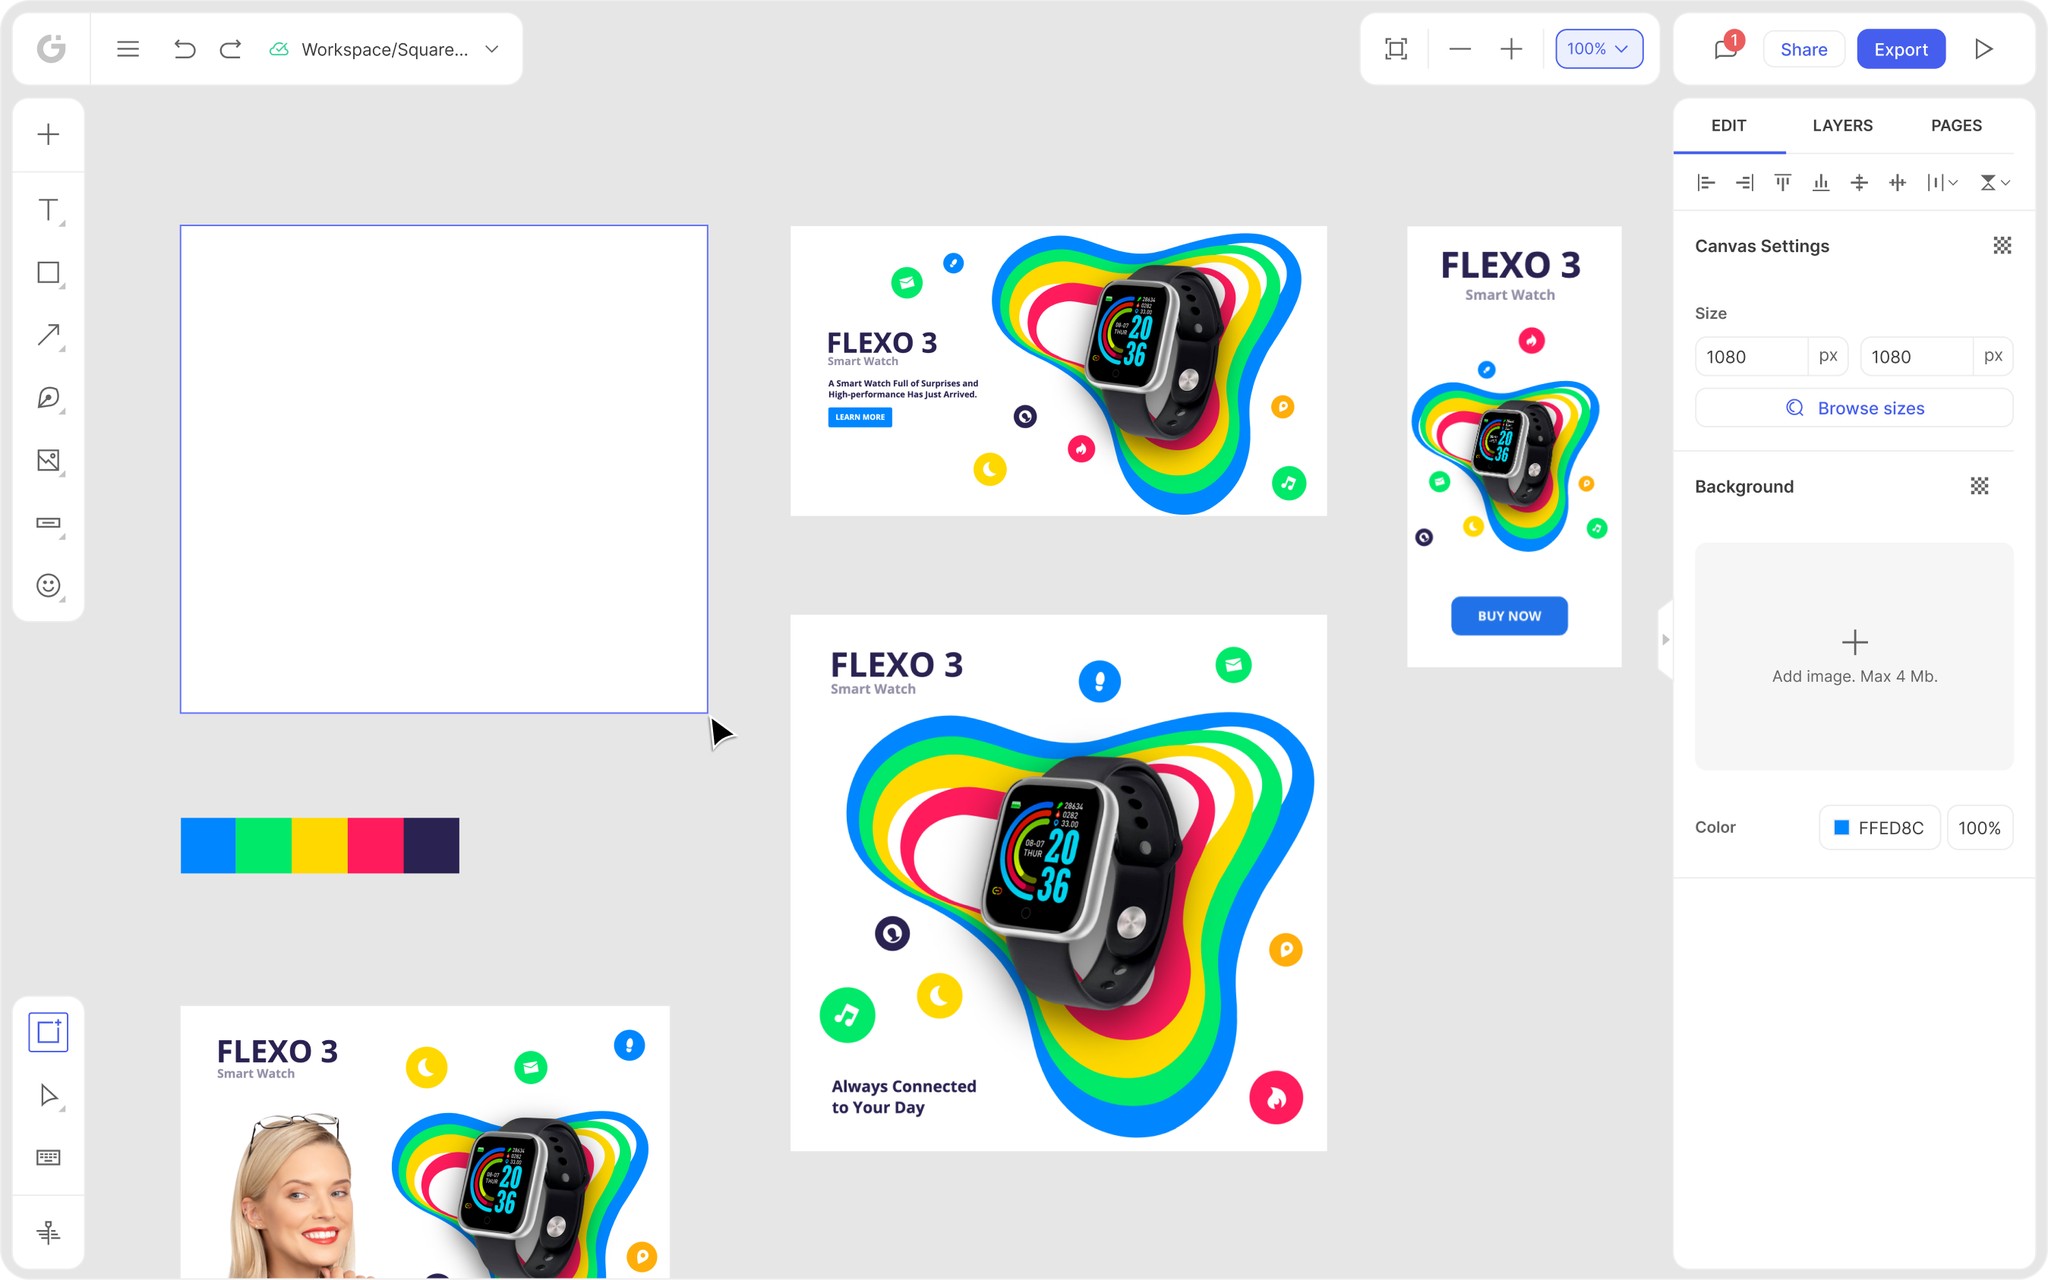
Step 1: Click on "Templates" found on the left panel. The template library will open up.
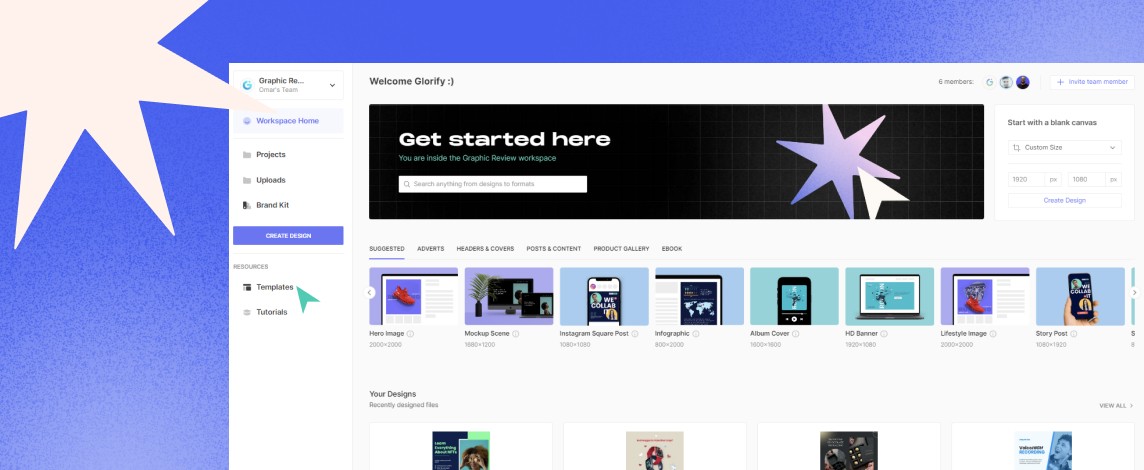
Step 2: Browse though the templates and click on one that catches your eye. Select "Use this template" to open it up in the editor.
Step 3: Select the main element on the template. Then click "Replace".
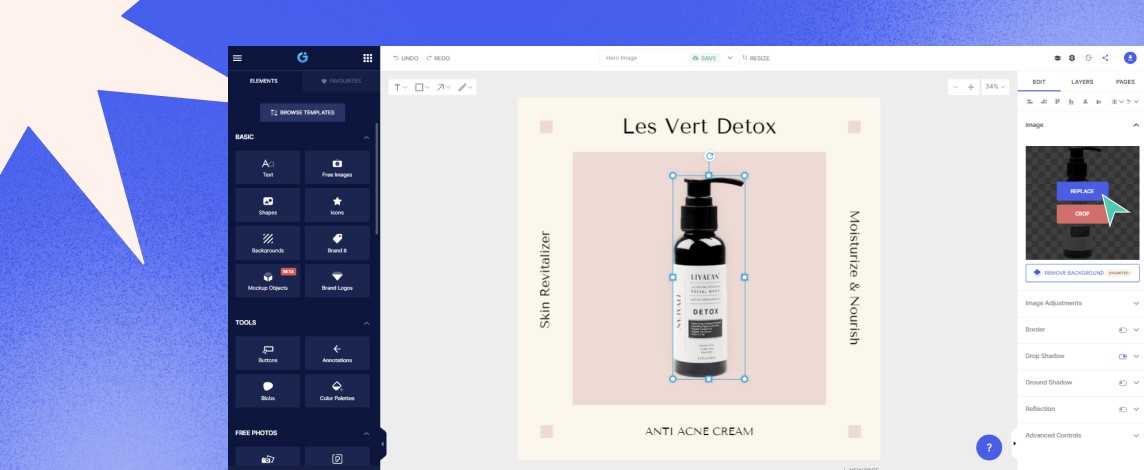
Step 4: A window will open up on the right of your screen. Click "Upload" to add your own product image.
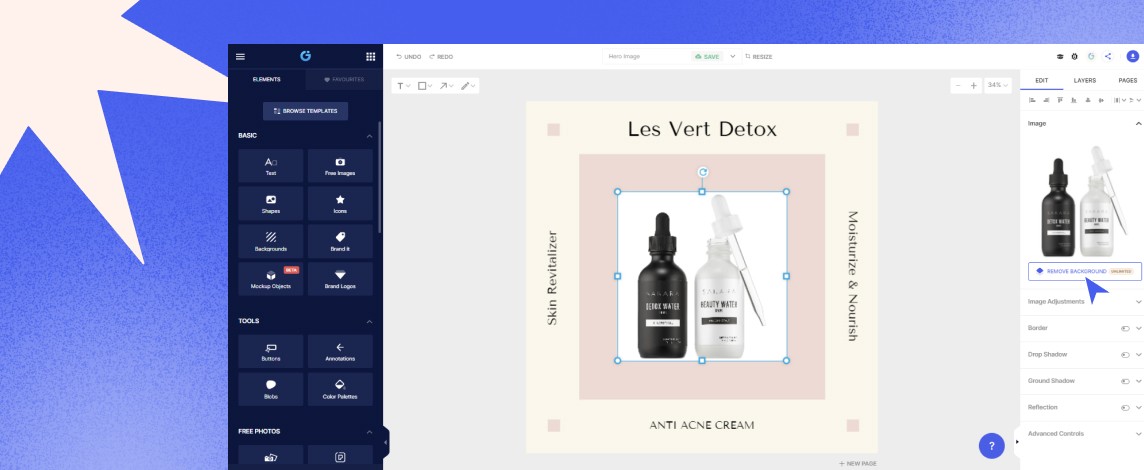
Step 5: Click "Remove background" to customize the background and remove unwanted elements.
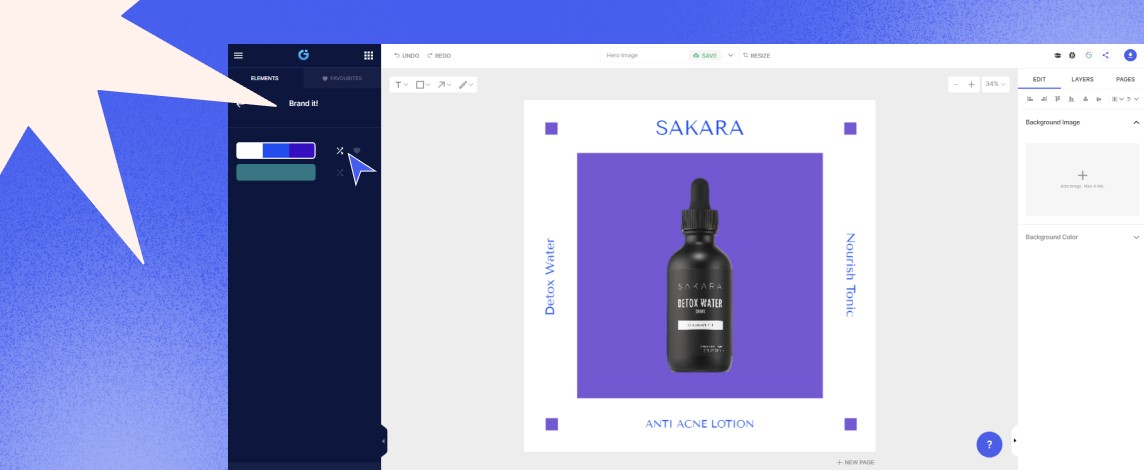
Step 6: Click "Brand it" found on the left panel to customize your image according to your brand.
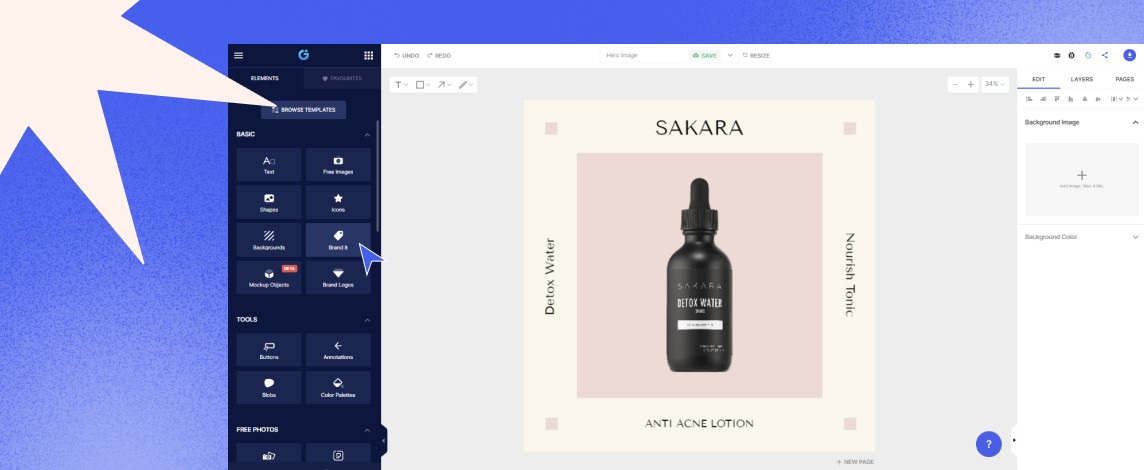
Step 7: Choose a color from your brand palette to customize your background. Once you are satisfied with the design, simply download it.
Finishing thoughts
In product photography, the sky is the limit, so don't feel compelled to stick to the types we've discussed in this article. Just remember to follow the right process when setting up your products for the photo shoot, and you're all set to create stunning visuals.
Don't forget to use a photo editing software such as Glorify to add the final touches to your images and make them irresistible. If you want to try your hand at creating professional product images, get started with Glorify today!
FAQs
1. How do you take professional pictures of things for sale?
Product photography can be done with a professional camera or even a smartphone. By following the steps given in this article, you can create professional product images that convert. Using a third party app like Glorify also come in handy for making minor edits.
2. What type of photography is most profitable?
Corporate event and wedding photography are probably the most well-paid jobs in the photography industry.
3. Can I sell pictures of products?
Yes, you can sell images of products to local businesses, bloggers, magazines, etc. as long as they are your own. Keep in mind that selling pictures of someone else's possessions may land you in a legal battle.
4. How do professionals take product photos?
Most professionals use DSLRs or mirror-less cameras to capture photos. They then use advanced apps such as Photoshop to edit them.


Features
Explore templates
Alternatives


© 2024 Glorify App - All rights reserved