


We’re thrilled to announce that Glorify is officially partnering with Contra! This collaboration opens up exciting opportunities for designers, marketers, and creators in the Glorify community.
Canva vs Powerpoint - Which One is Better For Presentations in 2023

Canva Vs Powerpoint: Overview
Canva is a web-based visual design platform allowing non-designers to create various designs quickly.
Similarly, PowerPoint is a powerful yet simple-to-use presentation application built specifically for making professional-looking presentations.
The main difference is that PowerPoint is limited to presentations.
But with Canva, you can create presentations as well as a range of other design kinds.
Canva Overview

With thousands of ready-made templates and a massive collection of visual assets, Canva is used to generate everything from infographics to album artwork, flyers, posters, social media content, and a plethora of other visuals.
Designed with beginners in mind, Canva enables simplicity, pragmatism, and efficiency in all tasks performed through it, whether you need to create a birthday invitation, logo, or business presentation.
With Canva, you can post finished designs online and ask others to collaborate.
However, Canva's free version provides limited stock templates and pictures.
PowerpointPoint Overview

Within the Microsoft365 package, PowerPoint is an industry-standard option for creating presentations.
It's simple to use and offers plenty of templates. Still, it solely concentrates on creating presentation-style files with additional features like word processing and drawing.
PowerPoint is also an easy-to-use design tool.
It is well-organized and straightforward, and after being on the market for a time, it has partially established the criteria for outstanding presentation software.
PowerPoint has several important features that are continually upgraded to keep up with current trends.
Presentations, like with Canva, may be uploaded online and shared with others.
Canva Vs PowerPoint: Features
Undoubtedly, both Canva and PowerPoint are loaded with a wide variety of fantastic features.
But, despite this, they aim at different purposes.
Canva Features
Templates – Canva has around 12000 presentation templates (Presentations (16:9 and 4:3), Talking Presentations, and Mobile-First Presentations).
Stock library – 1+Million of photos, backgrounds, icons, videos, elements, graphics, and audio.
Graph maker – More than 20 pro types of charts to visualize your data. Additionally, it enables you to import your own Excel sheet.
Match and Move – Powerful animations and video transitions.
Notes and Footnotes – You can add a footnote on each page or notes within the private presenter screen feature.
PowerPoint Features
Templates – Using templates.office.com and other affiliate websites, you may find a wide variety of free templates that you can use for your presentation, along with the branded templates.
PowerPoint designer – AI-powered feature that generates ideas and can be used to buy professional designs created by experienced designers.
Cinematic motion mode – Create eye-catching presentations.
Library – Includes stock animations, transitions, and layouts.
Translation feature – Translate text and add spoken language and subtitles using the AI-powered Translator service.
Footnotes – Simply add a footnote to each page of your presentation.
Background editor – Adding, changing, and removing background color.
Keyboard features – Easily navigate using keyboard shortcuts.
Object insertion features – Add SmartArt graphics, tables, shapes, and charts.
Picture features – Add, compress, or change picture style.
Canva Vs PowerPoint: Pros and Cons
Canva Pros
✅ Web-based, with mobile and desktop apps available.
✅ Beginner-friendly interface.
✅ Saving option to account, Google Drive, or Dropbox.
✅ Huge library of images, fonts, and color palettes.
✅ Object animation.
✅ Export images to PTT, JPG, PNG, PDF, and MP4 file format.
✅ 16 chart types.
✅ Real-time collaboration.
✅ Free access to 5GB cloud storage.
✅ 110 apps and integrations.
Canva Cons
❌ Maximum of 30 slides per presentation.
❌ Lack of transition and animation options.
❌ Parallax scrolling is not available.
❌ Absence of useful filters for free design elements.
❌ Free plan is quite limited in features.
PowerPoint Pros
✅ Web-based, with PC and mobile apps available.
✅ Easy-to-use interface.
✅ Saving work offline or to One Drive and account.
✅ Export slideshows to GIF, MP4, PDF, WMV file formats.
✅ 50 chart types.
✅ Translation feature.
✅ Real-time collaboration.
✅ Integration with social media, Microsoft 365, and other tools.
✅ Draw free-hand feature.
✅ Custom templates.
✅ Video inserting option, along with video recording and playing feature.
✅ Compatible with every operating system.
✅ Keyboard design shortcuts.
✅ Slideshow editing options, like adding a hyperlinked table of contents or drawing on the slide during the presentation.
PowerPoint Cons
❌ Limited free version.
❌ Lack of font variety.
❌ Files are not saved automatically.
❌ Too many features can be overwhelming for some less-experienced users.
❌ The software often glitches.
Canva Vs PowerPoint: Pricing
Canva Pricing
Canva has a free plan, with some restrictions to it. And Pro and Teams are Canva's two premium subscriptions.
More stock content, a background remover, a magic resizer, a brand kit, more export options, premium fonts, and edit history are included with the pro version.

PowerPoint Pricing
Microsoft PowerPoint is offered for a one-time subscription. Support is provided through email, a knowledge base, frequently asked questions, and other online tools.
You can buy it as a standalone product or as part of a Microsoft 365 bundle.

Canva Vs PowerPoint – Which One Is Better?
Both of these tools are good choices for creating presentations.
Canva is a one-in-all tool that allows you to create visuals for numerous occasions. The downside is that a free plan is quite limited.
If you need to brand your design or use advanced editing options, like the background remover, you should subscribe to a Pro plan.
On the other hand, PowerPoint is created explicitly for presentations. So, it is packed with many features, such as Designer, shortcuts, and video controls to spice things up.
But, this can be confusing for some users and requires a bit of a learning curve.
So, why not try a third option?
Glorify – The Third Solution
Glorify is an online ultimate design tool with powerful features specially created with eCommerce users in mind. But not just that.
With it, you can create almost anything – social media content, ads, banners, and, of course -- presentations.

Glorify has a free forever plan that offers various features to anyone in contrast to the above-mentioned tools:
Infinite canvas – Prepare marketing materials, brainstorm, and keep all of your assets in one place.
Brand kit – Create, edit, and personalize your designs within a click.
Annotation tool – Highlight all the prominent features of your product.
Template bundles – Stay consistent across platforms and save time using one design that fits all.
Background remover tool – Create perfect cut-out in seconds.
Mockups – Create realistic, 3D mockups with Shadows and Reflections.
Smart resize – Instantly resize any image.
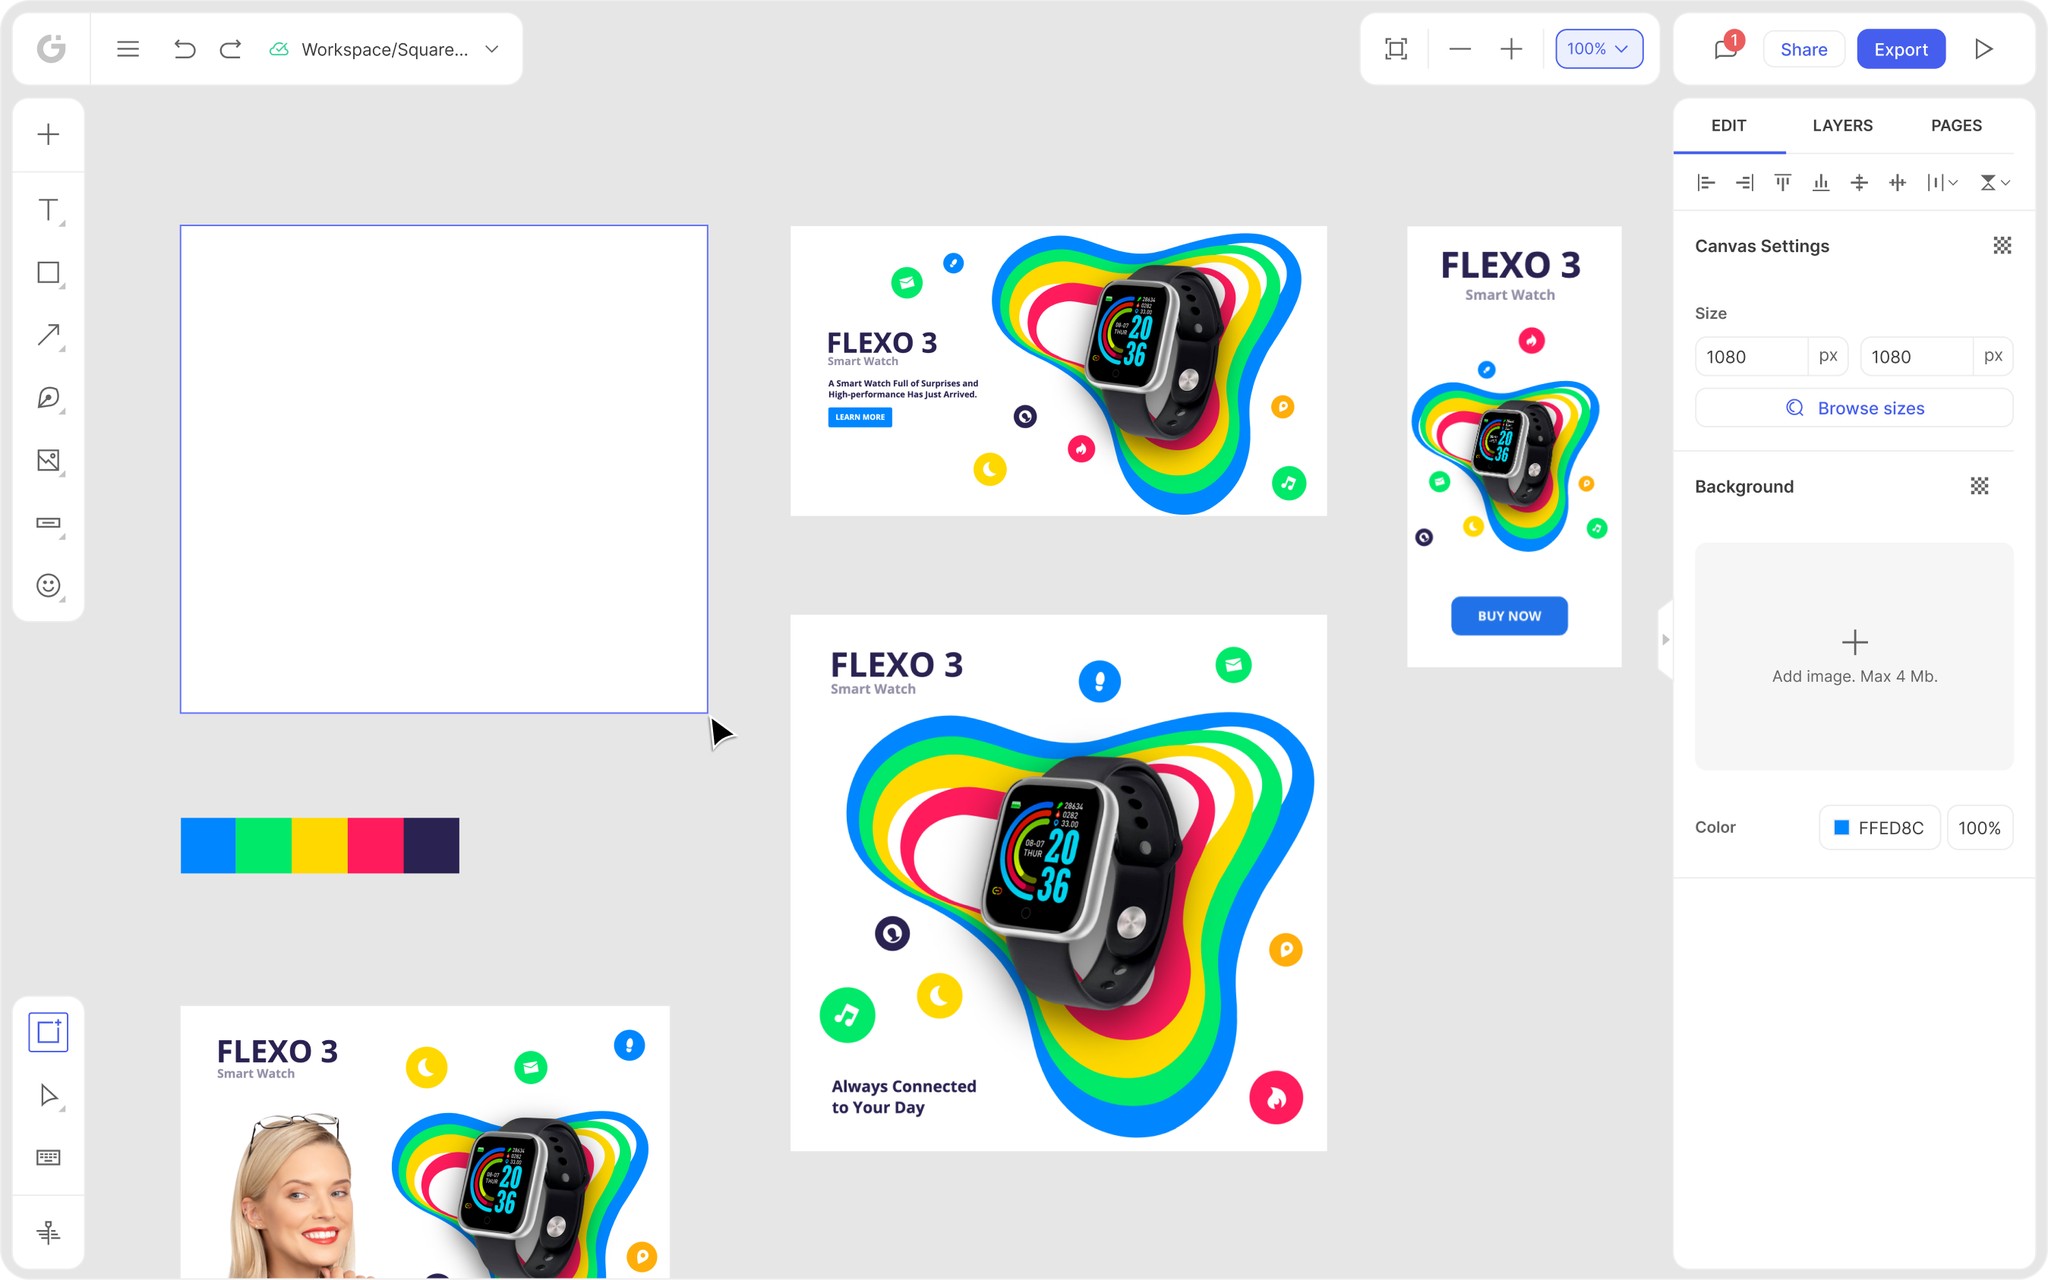
Creating a presentation using Glorify is simple, thanks to its intuitive interface.
Let's look at these easy-to-follow steps.
Step 1. After logging in, choose the HD banner from Dashboard.

Step 2. This will open all the available templates. Again, you can start from Scratch or filter through offered templates using the Keyword or Niche and Theme filtering options.

Step 3. Glorify has many editing options. For example, you can upload your own image or choose among hundreds of images from the library.

Step 4. The Basic section of the Library offers to edit design by adding Icons, Shapes, Backgrounds, etc.

Step 5. The Brand kit is a feature that can be used to personalize any design with a click. Apply logo, custom font, and color palette straight from the Dashboard.

Step 6. Use Tools and Elements to further enhance your image.

Step 7. Every element of the template is customizable. Simply select any part of the image to edit it further.
For example, an editor on the right will appear by clicking on the text. You can select a font from the library or use a custom one. Also, you can change the font's style, position, height, or border.

Step 8. When you are happy with your design, you can share it via a link or email or save it as PNG, Transparent PNG.JPG, SVG, PDF, or SVG PDF.
The Glorify’s free plan doesn't require a credit card to get started, and you get access for 3 users within 1 workspace.
Additionally, all the features, like the Background remover, Brand kit, Smart resize, Infinite canvas, and more, are available for up to 5 projects per month.
Sign up today and create stunning visuals in no time using Glorify!


Features
Alternatives


© 2019-2024 Glorify App - All rights reserved.