


We’re thrilled to announce that Glorify is officially partnering with Contra! This collaboration opens up exciting opportunities for designers, marketers, and creators in the Glorify community.
Ecommerce Product Images - 6 Best Practices To Increase Conversions

6 Best Practices For Your Ecommerce Product Images
1. Hiring a Professional Photographer
There is a time window of about two seconds to capture the visitors’ interest, and if your product photos look worse than the competitor ones, down to the bottom that business goes.
What professional photographers know is that a great quality product photo should have a certain size, quality of colors, background, shadows, angles, good loading time, etc.
That usually makes hiring them a good ROI (Return Of Investment).
One more thing that’s beneficial, when hiring a professional, is the legal rights when using photos.
People often don’t understand that just because photos are on the internet doesn’t mean they have permission to use them.
So paying attention to that would keep one out of legal troubles.
But you must be aware that this option is suitable for those who have sufficient funds.
That’s the reason why some eCommerce business owners forgo hiring a professional photographer trying to cut costs.
2. Providing High-Quality Pictures
Online shopping has increased in the last decade, even more so during the pandemic.
A staggering 93% of online shoppers agree that visual representation (photo, video, etc.) is the crucial factor when deciding on a purchase.
All people that browse the eCommerce sites more-or-less want the same thing – to have the online experience as if they’re in the physical store.
They want to be able to see the product clearly, in detail, from all angles, as if it’s in their hands.
Following certain guidelines regarding a photo-quality can help customers have that experience.
1. Use the Best Resolution Possible
High-resolution photos are a must in the eCommerce business.
Whether it’s a product image, how-to-use instructions image, etc., it’s necessary for the details to be clearly visible.
So the goal is to have a higher resolution, but keep the image size lower than 200kb. Compressing a file (image) will help here.
That’s necessary in order to have a zoom feature – a mouse swipe or a click on an image that helps customers see enlarged product details and approximate size.
Not having a zoom function can cause most customers to abandon the shop.

2. Adjust the Image Size
Small images can drive customers away fast.
If they can’t see the product clearly they will shop elsewhere.
Nowadays images under 1000 x 1000 pixels (minimum for Amazon) just don’t cut it anymore.
For sharp and clearly defined products in photos you need 2000 x 2000 px (Amazon, eBay, Shopify, Magento, Walmart, etc.).
Shopify recommends 2048 x 2048 px as a perfect size for images with a zoom function, that will not make details blurry while zooming.
That’s enough for clarity, and yet not so big to slow the loading time.
3. Choose the Best Format For Your Store
Most commonly used is the JPEG (.jpeg, .jpg) format, then PNG (.png), with GIF (.gif) being the least popular one of the three.
JPEG can be significantly compressed, so it gives the best image quality while the file size stays small.
GIF is the opposite of that. It’s not a good solution when using large images, because the file size will be too big no matter what. It’s mostly used for animation and images that don’t require details (eg. icons).
PNG falls somewhere in between JPEG and GIF. It’s better than GIF (can be used as its substitute), but has more color options, yet still a larger file size than JPEG.
There’s a new image format – WebP (.webp) created by Google, that is intended to replace all other formats.
It compresses well, even better than JPG, but it’s still in the early stages of acceptance because not all browsers can support it at the moment.
That will probably change very soon, making the WebP a standard, even the recommended format.
4. Make Sure the Colors Are Realistic
Showing the real colors is a must with product images.
No filters and no heavy color tampering, so customers know exactly what they’re buying.
As mentioned before, 22% of product returns happen because the customers claim that the product is not as pictured.
So to avoid returns, colors should be as realistic as possible.
Another important thing is accounting for differences in color interpretation across devices and browsers.
So the recommendation is to change JPG to sRGB color profile that is used for digital photography.
One more place where color plays a significant role is background selection.

5. Provide Different Angles
The main image of the product is called a Hero Image, and it should be at the front and center in the frame, presented straight or at a slight angle.
This image represents the product, it’s the first thing that will pop up when someone goes looking for that product, so it needs to look perfect.
The image should look like the product is on the shelf in a store as if the customer is personally in front of it.
Other images, from other angles, with details, should go to the gallery.
What drives sales the most is the 360’ view of the product, from all angles – front, back, top, bottom, at a 45’ angle, inside, and close up of any interesting details.
That means that the number of photos needed per product is above 3, but ideally,around 8, depending on the platform.

Another thing that it helps with is a sense of scale, especially if paired with a model (watch on a wrist, a child holding a toy, etc.).
6. Use The Clean Background
The white background is a staple in product photography.
It keeps the focus on the product and, since it has a neutral color, it’s easy to compare different colors and styles of the same product.
Besides pure white, often used background colors are beige, off-white, gray, and even black (for a more luxurious look).
Sometimes, instead of neutral color backgrounds, other types can be used, such as wood, fabric, marble, sand, etc.
It depends on what you’re trying to convey, for example – if the product is a sunscreen or self-tanning lotion, then it complements the narrative if the background used is sand.
Additional objects (props) in the background might help in telling the story.
Especially if it’s in sync with what the brand stands for - but only if it’s done right.
What’s important is that the product fills more than 50% of the image frame.
Amazon even requires it to be 85%, that way the product is front and center.
One just has to be careful when using props so as not to take away from the image – lessen its clarity or shift focus from the product and confuse the customer.
7. Establish the Proper Light and Shadow
When it comes to light options in product photography there are only two options to choose from: Natural or Artificial Light.
Everyone would rarely choose natural light, unless the budget allows for traveling/searching for a particular place, in the right season for the product narrative.
Natural light is mostly used in DIY photography because it costs less than the equipment.
Artificial light (with the right background) removes unwanted shadows and gives better, more clearly defined images where every part of the product is visible.
The product simply “pops” from the image.
Avoiding or removing unwanted shadows is standard practice in product photography, but they can be helpful in accentuating certain product features.
They can give depth and make the product look more realistic and lively.
Knowledgeable use of shadows can make the product look more desirable, without crowding the frame and driving focus away from that product.

Shadows must look realistic, so they don’t distract, and their use must be consistent – the type of chosen shadow should be on all product images (Which is easy to do with Glorify).
The most commonly used types of shadow are natural, dropped, and reflection shadows.
3. Compress Ecommerce Product Images For Fast-Loading
Did you know that 40% of customers would abandon the page if it took more than 3 seconds to load?
A second up or down can mean millions lost or gained in the eCommerce business.
Since images make up the majority of eCommerce platforms’ space, reducing the images’ file size means decreasing the loading time.
Today's customers have very little patience for slow-loading pages and will take their business elsewhere if you don’t supply them with fast-loading ones.

So how can you achieve that?
By compressing your images before uploading.
Simply put, image compression sheds pieces on (unnecessary) data after which the image looks the same or almost the same to the naked eye, and still looks good even with the zoom option.
For this to work images must be in JPG format, so they wouldn’t lose quality after.
On Shopify, this process is automatic after photos are uploaded.
In other cases compressing should be done before uploading the images onto a platform, with the help of online image compressors such as TinyPNG.
5. Optimize Images for SEO
Besides already mentioned size, format and compression, for images, there are other things determining the success in Google ranking.
They involve keywords, file names, alt. tags, and site maps.
Alt tags are used to help search engines index an image content correctly.
They should contain more words than a file name.
On top of that, if related keywords are used in the name, that’ll help you improve SEO.
Image file names should be descriptive and logical, with hyphens instead of spaces between words.
Also, images should be added to the sitemap, to help Google find it because otherwise, it might not.
6. Include Narrative In Your Images
Emotions have a very strong influence on people’s desire to buy. Evoking emotion through an image can convert to sales and mean brand success.
The idea is that the image should remind people of the specific experience that involves the product, with an uplifting effect.
For example, the above-mentioned sunscreen image can be shown in the sand on a beach, with the sun and vibrant colors around.
Instant connection to the sea, vacation, and happy, fun, relaxing times is made in the minds of customers, and that feeling might convince them to buy.
That’s why the stories behind imagery should never be overlooked.
Every major brand has its own narrative, and targeted groups they’re communicating it to through images and videos.
But what if we tell you that you can do it yourself easily without knowing to use any design tool, and paying loads of money for a professional photographer?
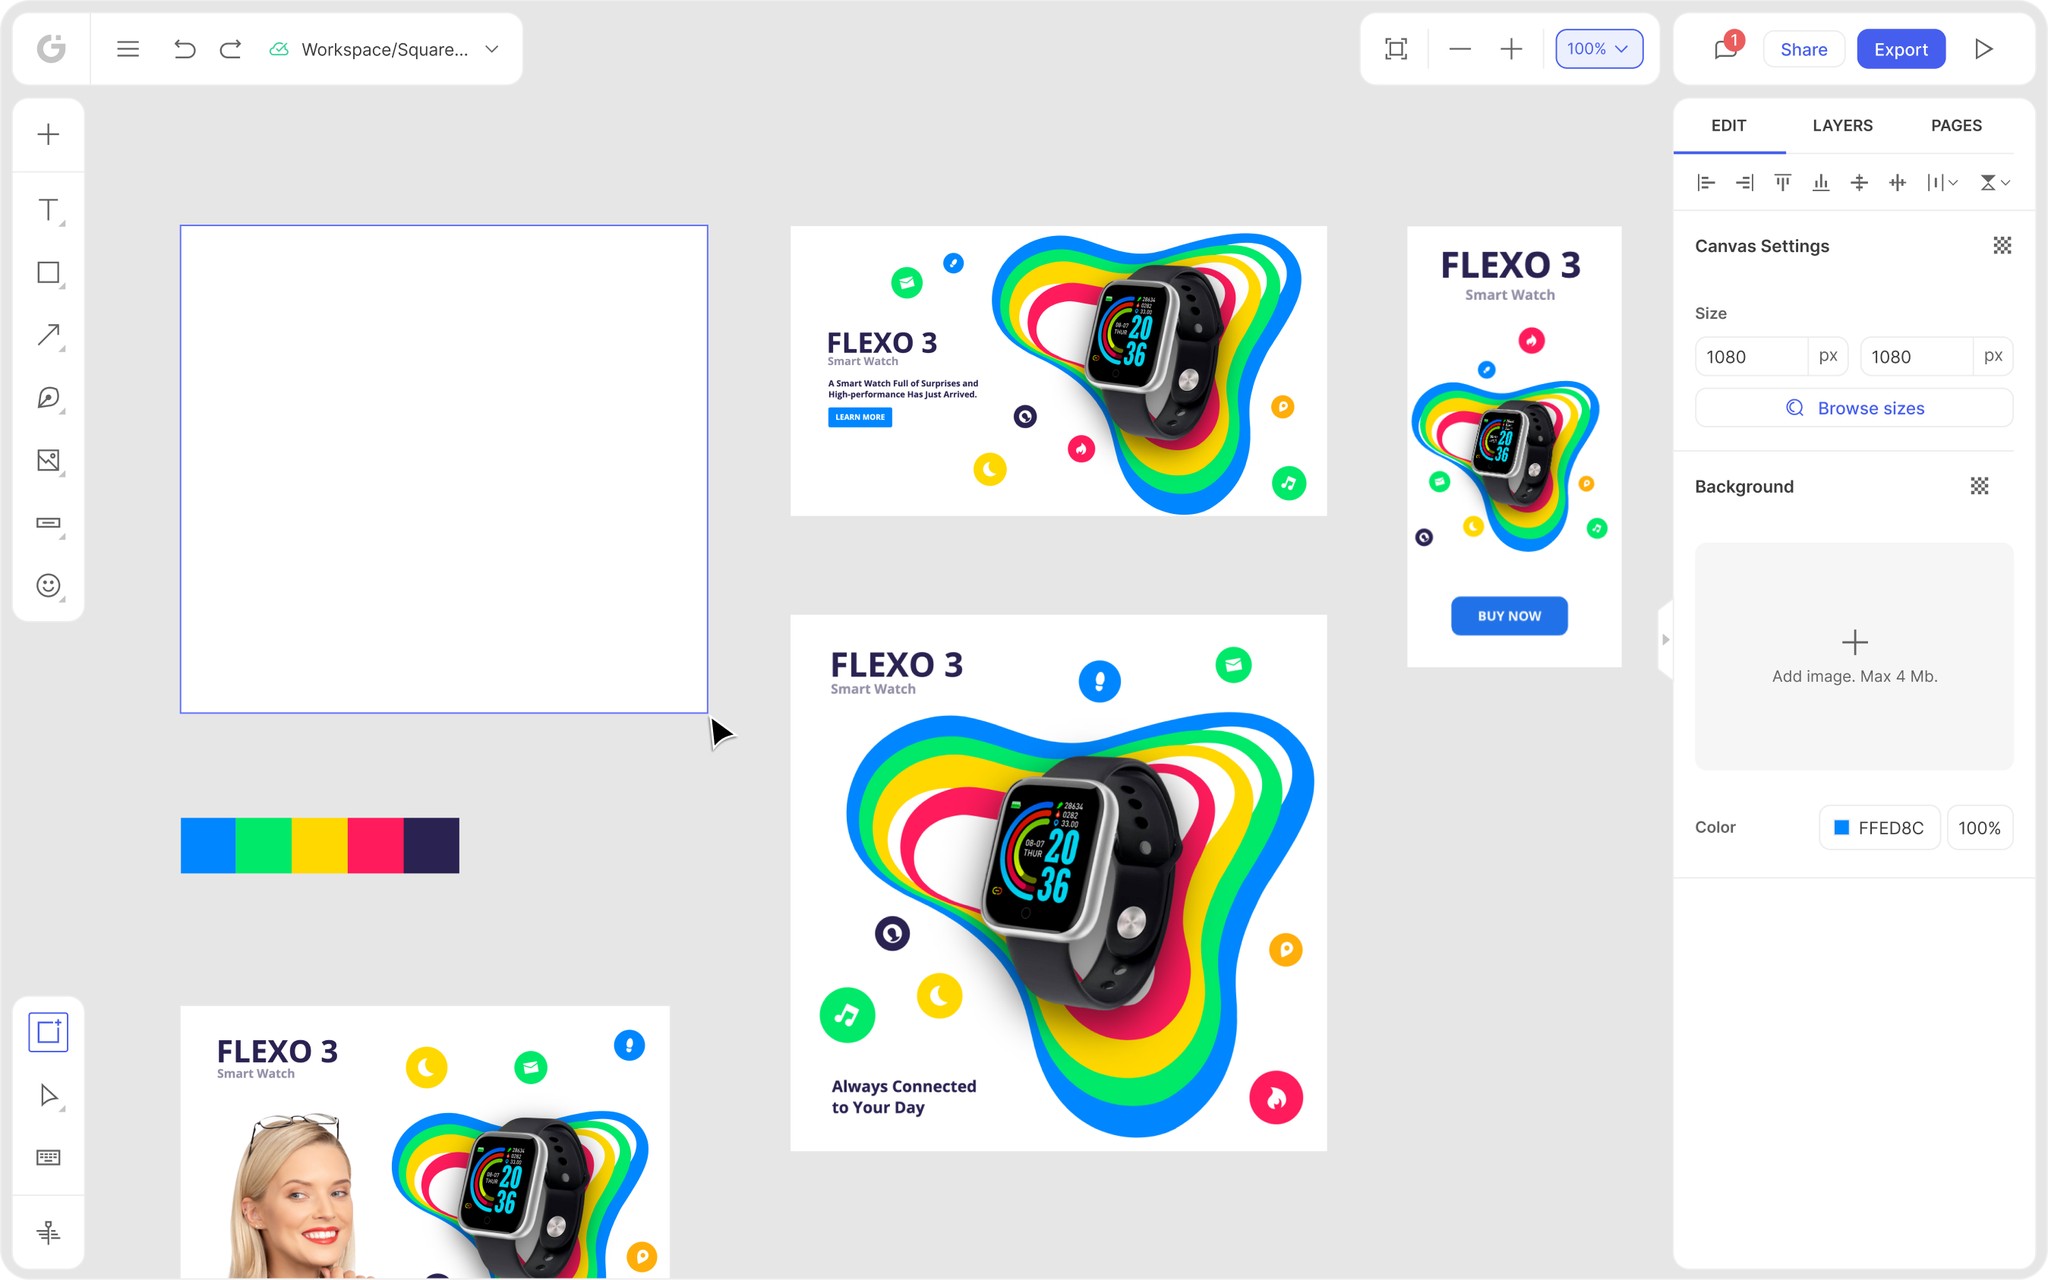
Create Ecommerce Product Images using Glorify
Glorify is a design app that allows you to create professional and beautiful eCommerce product images that drive conversions within a few minutes.
How?
1. Create an account for free and navigate to the “Hero Image” templates.

Here you’ll find tons of templates that you can use for your store, or you can start from scratch.
Just choose the one that fits you best and hit “Use this template”.

Besides that:
Glorify has a free forever plan that gives you limited access to its features and functionalities for up to three people.
There are tons of templates available to make designing quicker and easier all around.
Glorify has many features to make the designing process smoother, such as a background remover for your images, a smart resize function, an annotation tool, and more.
The collaboration process is simple and easy.
Glorify has a vast library of assets you can use with your designs like icons, stock photos, models, illustrations, and more.
Adjust it according to your brand colors, add shadows, insert your products with removed background, and you’re good to go.
Stop spending loads of money on designers when you can do it easily using Glorify.
Create your free account now and start creating high-converting eCommerce product images at scale.


Features
Alternatives


© 2019-2024 Glorify App - All rights reserved.