


We’re thrilled to announce that Glorify is officially partnering with Contra! This collaboration opens up exciting opportunities for designers, marketers, and creators in the Glorify community.
7 Steps To Create An Effective Website Banner

What Is a Website Banner?

A website banner is usually a rectangular image at the top of your page. Its main function is to grab attention and communicate your message quickly and effectively.
What’s more, it should also be consistent with the overall branding of your website and business.
Since they are the first thing people see when they visit a website, they act as a great promoting tool: you can promote products or services or simply provide information about the website.
What Banner Size is Optimal?
The optimal banner size depends on your business needs and the layout of your website. Let’s check the most popular sizes according to Google Ads:

300×250 px (inline rectangle)
336×280 px (large rectangle)
728×90 px (leaderboard)
970×90 px (large leaderboard)
468×60 px (banner)
300×600 px (half-page ad)
160×600 px (wide skyscraper)
250×250 px (square)
200×200 px (small square)
300×50 px (mobile banner).
We should also mention that not every banner is a display ad.

When it comes to social media banners, the size for
Facebook and Instagram banner ads/feed image ads is 1080×1080 px
For YouTube banner ad/overlay ads is 468×60 px or 728×90 px
For LinkedIn banner/profile cover is 1128×191 px, etc.
Apart from size, banners also differ according to their types.
What are The Types of Banners?
The two most common types of banners are:
Static banners consist of a single image, either in JPG or PNG format
Animated banners, conversely, can include anything from carousel images to videos. One example of animated banners is GIF banners.
The next thing on our agenda is to see the must-have elements of an effective website banner.
What are The Main Elements of a Website Banner?
The main elements of a website banner are:
The required size
The background
The headline
The CTA (Call To Action)
The product image, or the service showcase.
Depending on your type of business, you can add more elements like sub-text, but the above elements are essential to every type of banner.
Now that we’ve covered the basics let’s get more creative and see how to incorporate these elements into your website banner.
In addition, let’s see how easy it is to create an effective website banner using the graphic design tool, Glorify.
7 Steps To Create An Effective Website Banner
Step 1: Choose the Size
The good thing about using tools like Glorify is that you don’t have to worry about resizing.
When you create banners in Glorify, you can choose from the Template Gallery, which has predefined templates and bundles.

As you can see, apart from having pre-sized templates, you can also set your own size.
Once you've chosen the desired category and a template, it’s time to give your banner a personal touch.
Step 2: Customize Your Website Banner
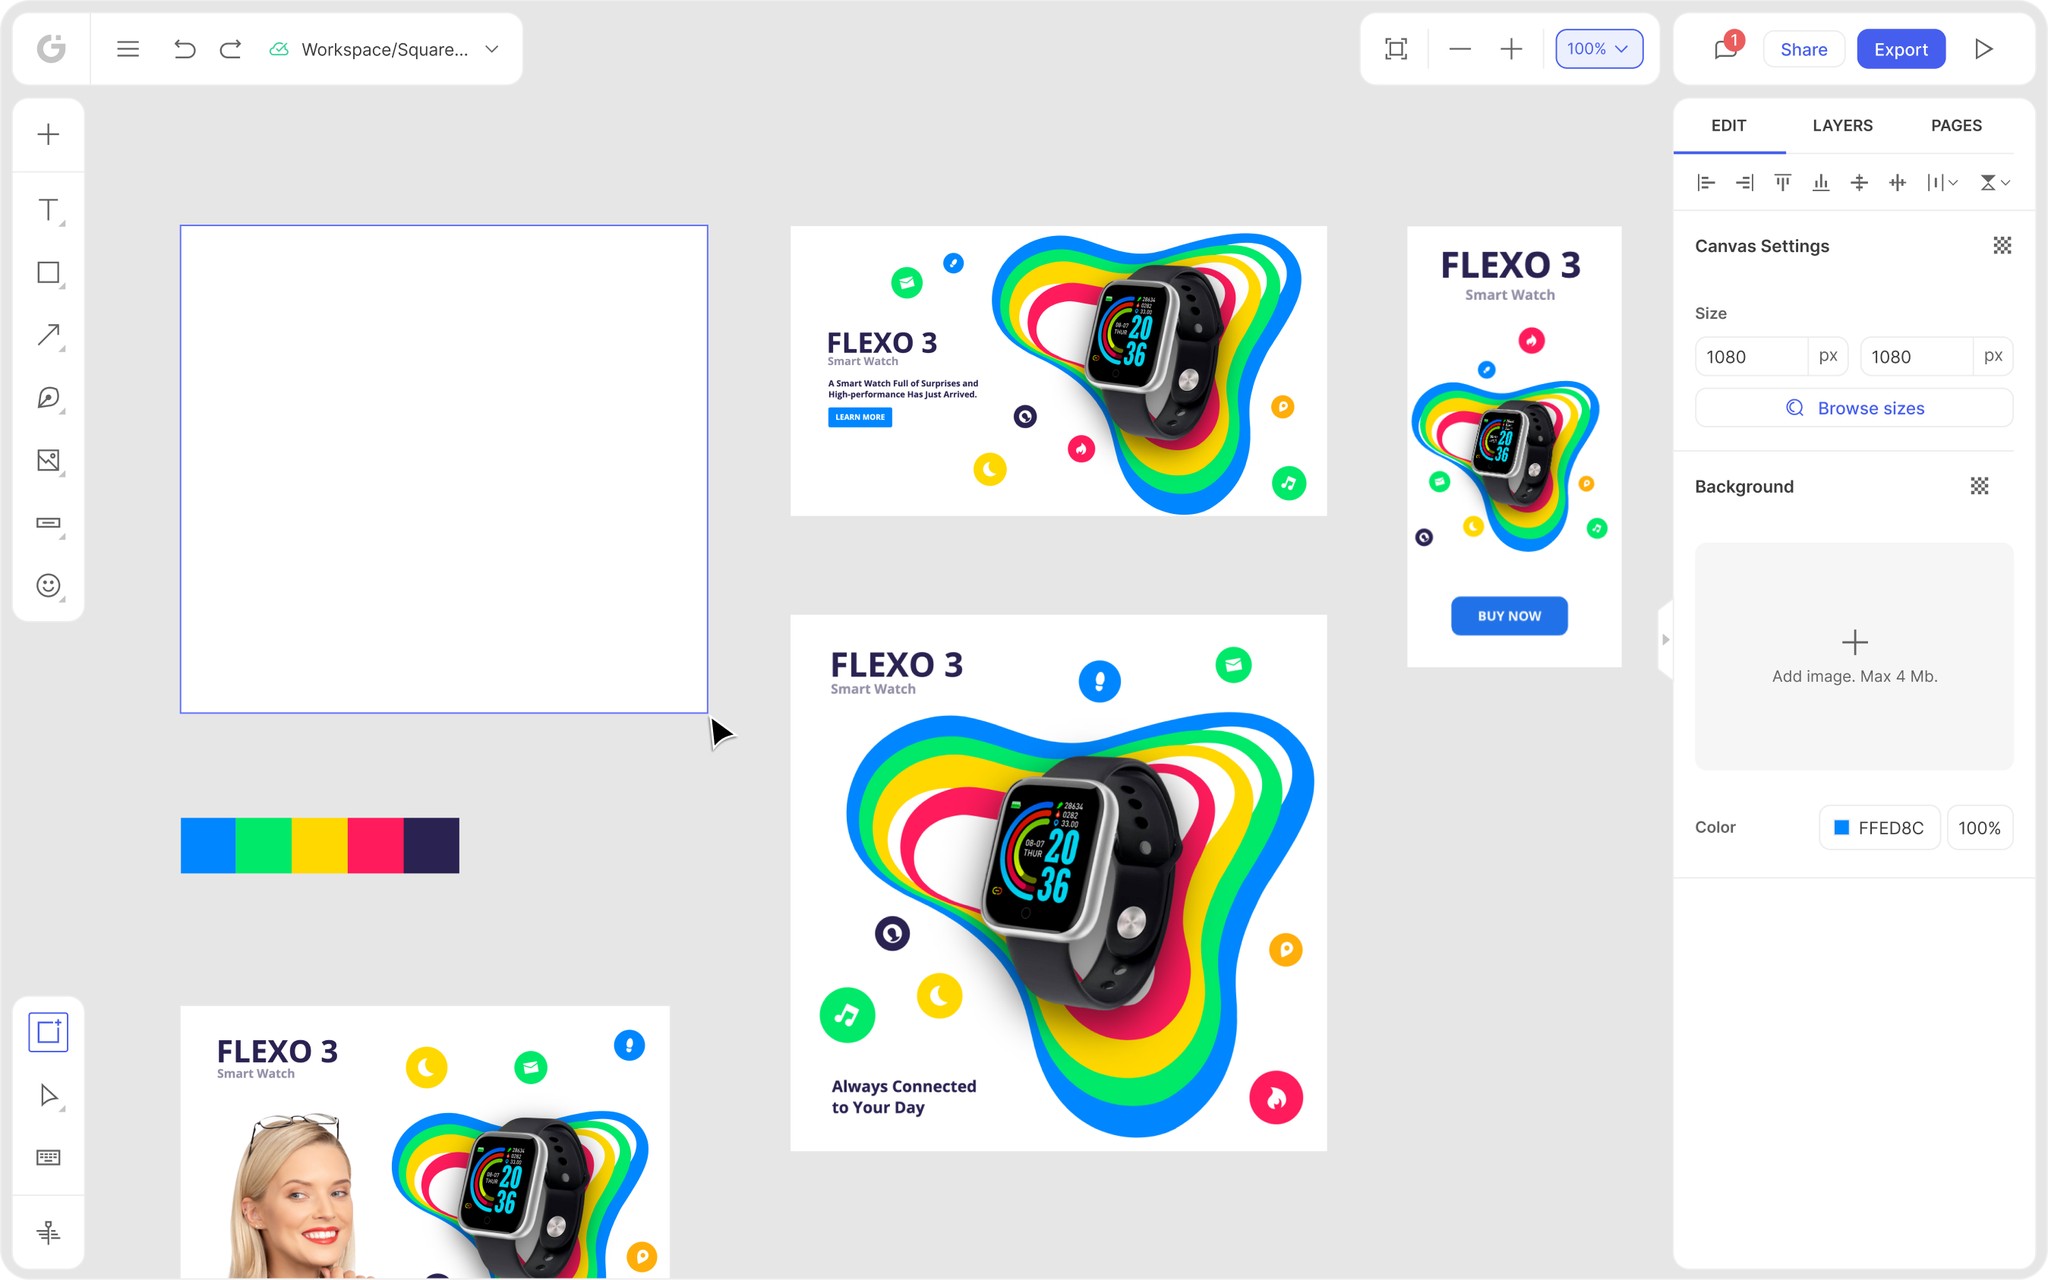
In order to customize your website banner, you need to get to know Glorify’s dashboard.
Glorify’s dashboard has two panels.
You will find tools for further editing in the left-hand panel, like the assets panel, brand kits and logos, backgrounds, filters, pen and pencil tools, shapes and lines, textbox, etc.
The right-hand panel is more for technical nuances like BG remover, shades and reflections, resizing, color adjustments, etc.

But let’s focus on the main elements you need to create an effective website banner.
Step 3: Choose the Image
Images are a very common choice when creating banners. Since banners should attract attention, the images must be eye-catching, too.
With Glorify, you can upload your image or use free or premium royalty-free images from Glorify’s gallery.
In addition, you can use shapes, icons, etc. Just click on the designated icon on the left-hand panel and choose an image.

Pro Tip: When it comes to choosing the background, you should go for a solid-color background if you have people in your images or if a picture of your product is already too colorful or has lots going on.
Having a solid background will emphasize the focal point of your picture and enhance your message or a CTA.

On the other hand, if you don’t have a physical product to show, then having a photo background is a good option to make your message stand out.

Of course, the wise choice of colors can make or break your banner. If you want to find out more about this powerful non-verbal asset, then you don’t want to miss our article on How Color Palette impacts marketing results?
Step 4: Use Appealing Headlines and Fonts
Although images are the main stars of a banner, you should pay attention to your headlines and fonts.
It isn’t uncommon that people try to ‘stuff’ their banners with too much textual information resulting in unappealing and crammed banners.
In order to create punching headlines, keep them short and direct. It is believed that a strong headline doesn’t exceed 2 sentences.
In addition, use action verbs: go, visit, explore, come, etc. People are more likely to click on your banner if they feel they should perform some action.
When it comes to font choice, it’s better if you don’t combine more than 2 fonts. The font should be legible and should match your brand’s style and voice.
With Glorify, you can choose from a variety of fonts that you can additionally change or tweak to your needs.
You just need to click on the text you want to change, and from the right-hand panel, you can change the size, color, borders, effects, letter spacing, etc.

Step 5: Add a CTA
You can’t have a high-quality banner without an effective CTA. It combines the ‘actionable’ text and the color. Furthermore, CTAs depend on the right use of colors. This is where Color Meaning and Symbolism will come in handy.
For example, do you want to convey a message of being trustworthy, secure and responsible? Go for blue, then.
Or if you want to come across as friendly and warm, yellow should be your choice, for instance.
When it comes to the CTA text, consider what you actually want people to do. Do you want them to:
Buy your product
Learn more about your services or products
Go to your landing page
Use special offer or discount, etc?
You can’t write a compelling CTA if you don’t decide on its purpose.
Pro Tip: if you sell digital products or offer services, it is much better to use CTAs similar to Learn More than Sign Up.
Why? Well, it is highly unlikely that people will sign up for a service or buy a product before they can test it or know more about it.

So how can you add a CTA button with Glorify? Easy, in a few clicks only.
Click the button option in the left-hand panel and choose from different types of outlines and fillings.
You can also use the CTA button that is in the template.

Regardless of your choice, the way to tweak the text is the same as for headings.
In the left-hand panel, you will find options like fonts, size, letter spacing, icon setting, borders, drop shadow, etc.

Step 6: Add Brand Elements
One of the main aspects of banners is to make your brand visible and instantly recognizable across all platforms and campaigns.
With its Brand Kit and Logo maker, Glorify enables you to make your banner fully personalized and customized.
Thus, you can centralize all your assets and use them for any future design.
You will open the Assets Library when you click on the plus sign in the left-hand panel. You will find the Brand Kit and Logo among many other features here.

By simply clicking on the feature you need, you can choose the color palette, create or upload your logo, choose the text style or use a Brand Template.
For example, if you hit Color Palette, you can see color combos that you’ve already made and you can use them instantly or you can add a new set of color combos.
One click on the combo you like, and it is immediately incorporated into the banner.

It is a great time saver because once you personalize your Brand Kit, it is there for all future references. You don’t need to start from scratch every time.
Step 7: Export Your Banner
Once you are satisfied with your banner design, it is time to export it in multiple formats.

And this is how in 7 easy steps you can create an effective banner.
Wrapping It Up
Let’s do a quick recap.
To create an effective website banner you need to incorporate all of its main elements so they match your brand’s message and voice and target your audience.
Tools like Glorify, help you in that process by providing easy-to-customize templates with a set of robust graphic tools and features.
So, you can create professional-looking banners even if you are a newbie.
What’s more, Glorify doesn’t offer graphic tools solely, but also powerful eCommerce assets like mockups and annotation tools.
This way, you’ll get everything you need for successful marketing under one umbrella.
Ready to give it a try?
Sign up today so you can create an effective website banner in no time but without sacrificing its quality.


Features
Alternatives


© 2019-2024 Glorify App - All rights reserved.