


We’re thrilled to announce that Glorify is officially partnering with Contra! This collaboration opens up exciting opportunities for designers, marketers, and creators in the Glorify community.
How To Make a Packaging Box Mockup for Your Ecommerce Store

What are the Benefits of Mockups?
Overall, product packaging mockups offer a number of benefits for businesses and can help ensure that your products are recognizable and unique. Let’s check some of the benefits:
Mockups enable you to test out different ideas and see which one works best prior to production.
Creating a realistic 3D model of your product (packaging) gives you a realistic sense of how it will look and feel in the real world. This helps identify potential design flaws and make necessary changes before going into production.
Consequently, they can be time and money savers if you use them properly.
In addition, potential customers can get a better sense of your product from a mockup than from a 2D drawing or photo. This can increase interest and sales.
You can use mockups for marketing purposes, such as creating social media posts or promotional videos. They can assist you in creating a more professional and polished look for your brand.
Mockups offer a great way to stay consistent on all the platforms so people can recognize your brand the moment they see your product images or packaging.

We’ve got the benefits covered now, but the question remains: “How to make a packaging box mockup”? Let's find out.
How To Make a Packaging Box Mockup?
You'll need mockup software no matter what type of mockup you create. There is a great number of them online, and depending on your graphic design skills, budgets, and business needs, each of them is the right one in its own right.
Still, Adobe Photoshop remains one of the most popular so let’s see how you can use it to create a packaging box mockup.
How To Make a Packaging Box Mockup with Adobe?
To create a packaging box mockup in Adobe, you can use premade PSD mockup files or start from scratch
Use premade PSD mockups
If you’re wondering what PSD mockups are, they are templates that you can use to create mockups, amongst other things. In Photoshop, you need to click on the PSD template option and drop your own design into the Smart Layer. This feature enables you to edit your design without compromising the original image and its quality ( in case you resize it).
Start from scratch
Starting from scratch is definitely more challenging, especially if you are a beginner. You’ll have to do all the hard work preparing and editing the suitable package photo.
Furthermore, you will have to play with adjusting the right size, the corners, etc. Once you’ve made a packaging box, it is time to drop your image and add extra effects.

This will also require quite some editing and using various tools like Free Transform, Rectangular Lasso, etc. to make everything fit perfectly. You need to repeat the process for each side of the packaging.
Although starting from scratch has its merits because you can really create something original and completely tailored to your brand’s needs, Adobe Photoshop might not be the best choice if you are a beginner.
Don’t get us wrong, Adobe is a great tool, but it has a steep learning curve.
So what are the alternatives? One of them is Glorify, a cloud-based design tool that enables eCommerce store owners like you to create professional-looking designs for their businesses.
How To Make a Packaging Box Mockup with Glorify?
Since Glorify was made with non-designers in mind, the whole process of creating mockups is intuitive and user-friendly.
Let us show you how hassle-free it is.
1. Choose the Template
Saving time means that you don’t have to start from scratch, but instead choose from the Templates Gallery. Glorify’s Gallery offers a variety of templates: product images, posters, banners, social media templates, website headers, etc.
In this case, you should choose Mockup Scene Template.

Then, depending on the type of packaging you need, you’ll see which template suits you best.
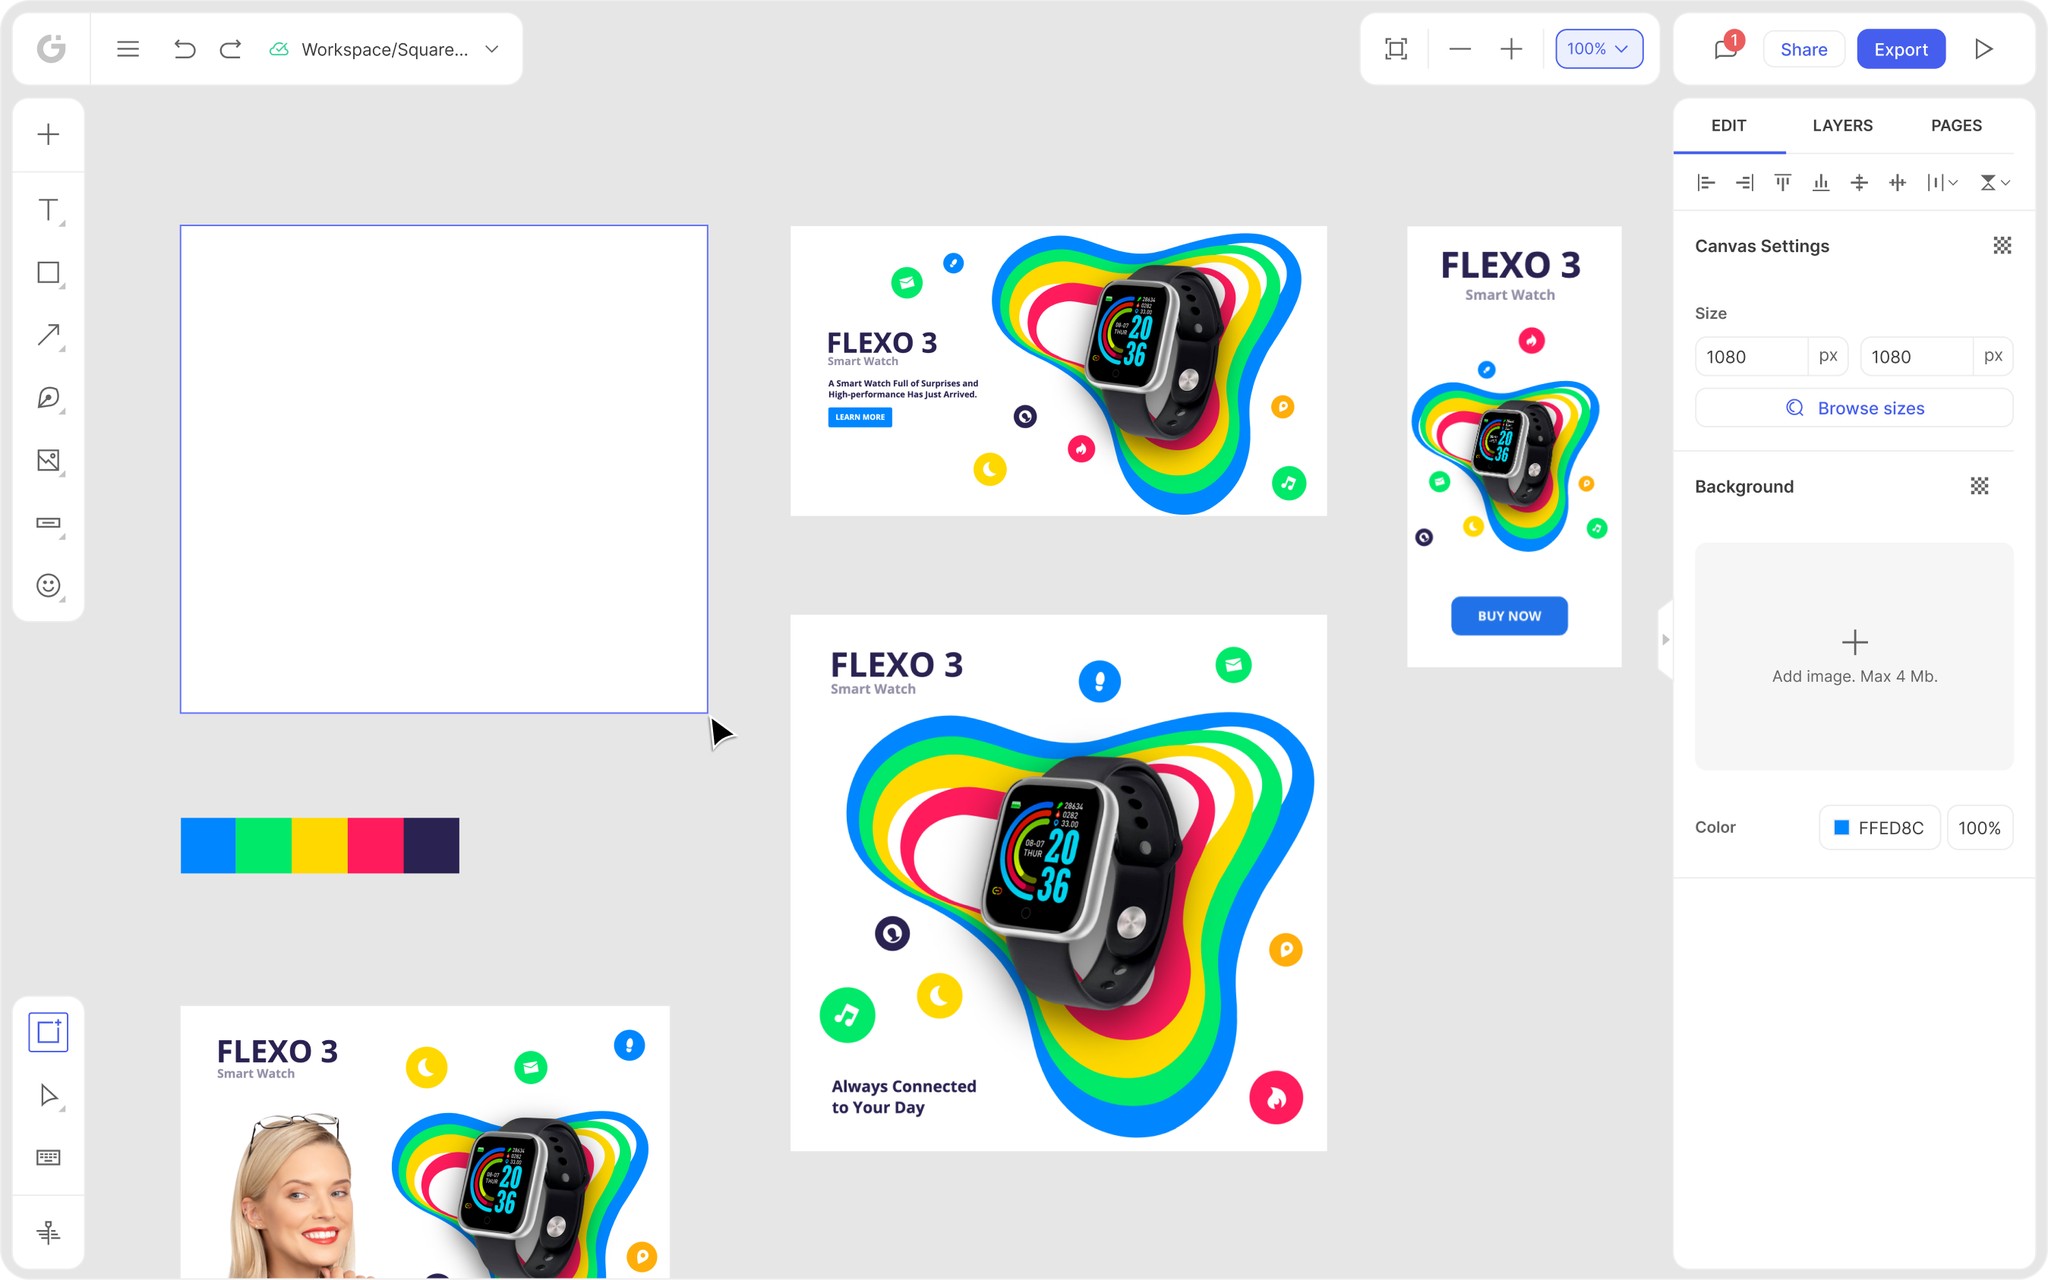
2. Get to Know the Dashboard
Although Glorify has a great number of features, they are easy to use. Furthermore, they are rich in what you can create with them. When you land on the dashboard, you will see the left and the right panel.

The left panel is home to all the elements like
shapes,
free images and icons,
backgrounds,
mockup tools,
brand logos and brand kits,
various effects and textures, etc.
Moreover, you can also choose any of the elements as your Favorites so you can quickly access them for any future reference.
The right panel is dedicated more to editing styles, color edits, layers, and pages. You will also find popular Background Remover and Shadowing and Reflection options here.
3. Start Editing
When you click on a product image, you will see editing options for mockup parts, such as the cap and the label and, in this case, the front and spine.

Let’s say you’d want to edit the front first. Just click on the Edit Content icon, and you will see the label image up-close.

3.1 Brand It
This is where the fun begins. You can upload your own product or even a logo image. You can also take a pick from the Free Images option on the left.
Furthermore, you can also Brand It. What does it mean? It means you can select your brand's colors, save them and apply them to your packaging within a single click. Take a look.

3.2 Add Your Logo
Let’s check some other features that come in handy when we speak about the packaging box mockups.
Apart from linking your packaging with your brand color, you can also add your logo, as we mentioned. Brand colors combined with the logo are a game changer because they will raise your brand awareness and make your products more recognizable and visible.
You can both create your own logo or upload the existing one. No matter what you choose, you can put it to your mockup with an easy drag-and-drop function.

3.3 Change the Text
If you want to change the text, either in terms of color or the content, just click on the text you want to change, and you will automatically see all the options on the right panel. You can change the font and its size, position, colors, letter spacing, opacity, gradient, etc.

3.4 Add Effects
The best way to achieve the optimal effects is to fully explore and play with the features and tools you see on the dashboard.
For example, in the picture below, we changed the background color, made the text color gradient, and added the glitter effect. It literally took a few minutes and a few clicks.
If you pay closer attention, you will see that there is a mockup preview on the right. After every edit, you can see what the package box will look like in the end.

When you think you’re finished with editing, you just need to click the Done button.

After that, you can repeat the process for the spine or any other element that you want to change.
Once you start editing on Glorify, you’ll see that everything is done via drag-and-drop functions.
What’s more, it is perfect for non-designers who want to create super-quality mockups without sacrificing too much time and money.
Wrapping Up
Mockups are an essential graphic design tool, and, as you could’ve seen, the benefits they offer are numerous. If you’re not already using Glorify, sign up for free today and start creating professional mockups– you’ll be surprised how helpful both Glorify and mockups can be.


Features
Alternatives


© 2019-2024 Glorify App - All rights reserved.